If you're craving crispy fried chicken but want to make it at home, this KFC Chicken Recipe is a delicious place to start. The chicken is soaked in a tangy buttermilk marinade, coated in a seasoned flour mixture, and fried until golden and crunchy on the outside while staying juicy inside.
The seasoning is inspired by the savory, herby flavor people love in classic KFC-style chicken. This is a homemade copycat-style recipe, not KFC's confidential Original Recipe, so the goal is to create that familiar fried-chicken experience with ingredients you can easily use in your own kitchen.
The best part is that you can adjust the spice level, choose your favorite chicken pieces, and control how thick and crunchy you want the coating.
Why You'll Love This KFC Chicken Recipe
Crispy coating: A combination of flour and cornstarch gives the outside a light, crunchy texture.
Juicy chicken: The buttermilk marinade helps keep the chicken moist and flavorful.
Bold seasoning: Paprika, garlic, onion, herbs, mustard, and pepper create a savory coating with plenty of flavor.
Easy to customize: Use drumsticks, thighs, wings, or breast pieces depending on what your family likes.
Great for family dinners: Serve it with mashed potatoes, coleslaw, biscuits, corn, or another favorite side.
Make-ahead friendly: The chicken can be marinated ahead of time, which makes dinner preparation easier.
What Makes This Chicken KFC-Style?
KFC's Original Recipe is known for its closely guarded blend of 11 herbs and spices. KFC has confirmed that its Original Recipe seasoning remains secret, so homemade versions are necessarily interpretations rather than exact reproductions.
For this Our Family Taste version, the focus is on the characteristics that make this style of fried chicken so appealing: well-seasoned chicken, a flavorful flour coating, a craggy crispy crust, and juicy meat underneath.
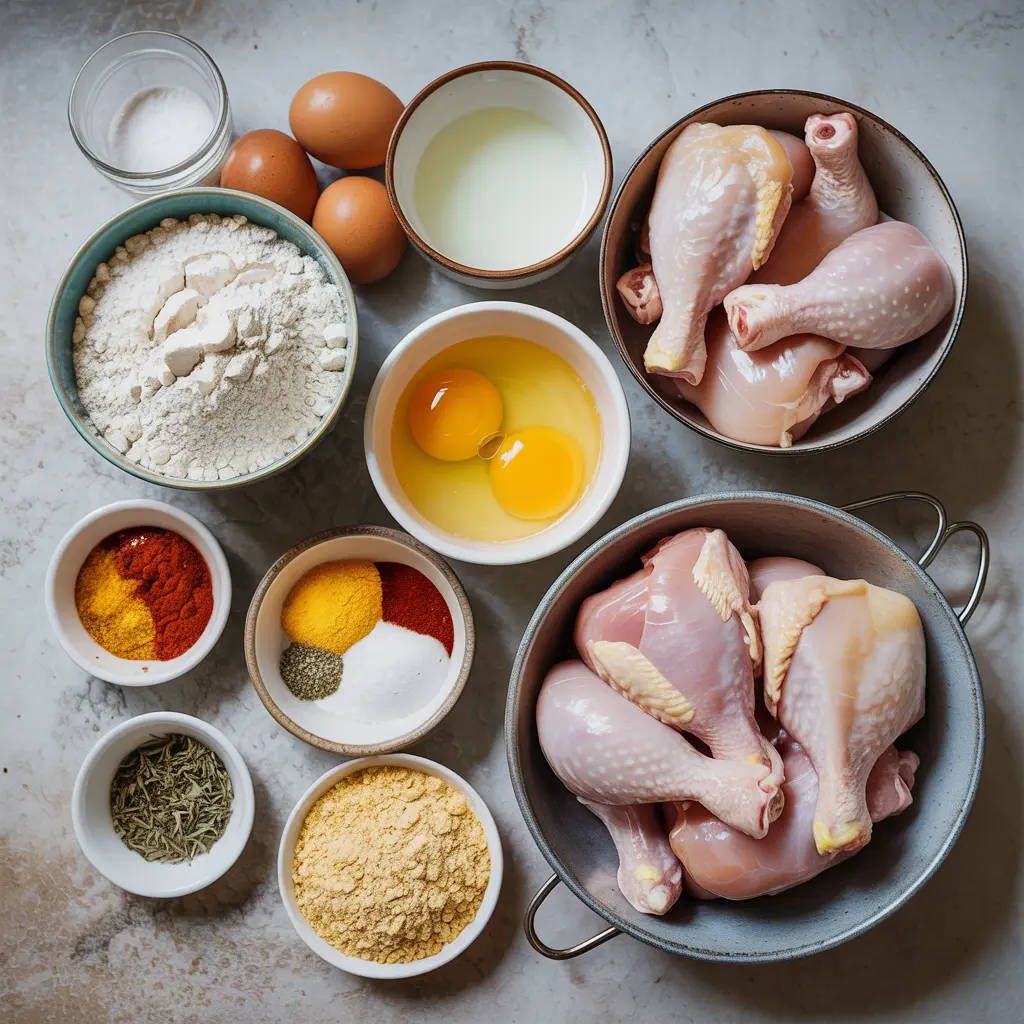
The simple ingredients used to make crispy homemade fried chicken.
Ingredients You'll Need
Chicken
Use about 3 pounds of mixed chicken pieces. Bone-in thighs and drumsticks are especially good for fried chicken, while breast pieces give you a leaner option.
Try to choose pieces that are reasonably similar in size so they cook at a similar rate.
Buttermilk
Buttermilk forms the base of the marinade. Its creamy, tangy character works well with chicken and helps the seasoning cling to the surface.
Egg
One egg is whisked into the buttermilk mixture. It adds richness and helps create a good surface for the flour coating.
All-Purpose Flour
Flour forms the main structure of the crispy coating.
Cornstarch
Cornstarch helps lighten the coating and contributes to a crispier texture.
Seasonings
The seasoning blend combines paprika, garlic powder, onion powder, dried thyme, dried oregano, dry mustard, celery salt, ginger, black pepper, and white pepper.
The combination gives the chicken a savory, gently aromatic flavor without making any single spice overpowering.
Vegetable Oil
Use a neutral oil suitable for frying, such as vegetable, canola, or peanut oil if appropriate for your household.
Recommended Equipment
Large bowl for marinating
Second large bowl for the coating
Whisk
Tongs
Heavy-bottomed Dutch oven or deep, heavy skillet
Wire rack
Rimmed baking sheet
Instant-read food thermometer
Paper towels or absorbent kitchen paper
A thermometer is particularly useful because the oil temperature and the chicken's internal temperature both matter.
How to Make KFC Chicken
1. Marinate the Chicken
Whisk the buttermilk and egg together in a large bowl.
Add the chicken pieces and turn them so they are thoroughly coated. Cover and refrigerate for at least 4 hours. If your schedule allows, an overnight marinade gives the seasoning more time to work.
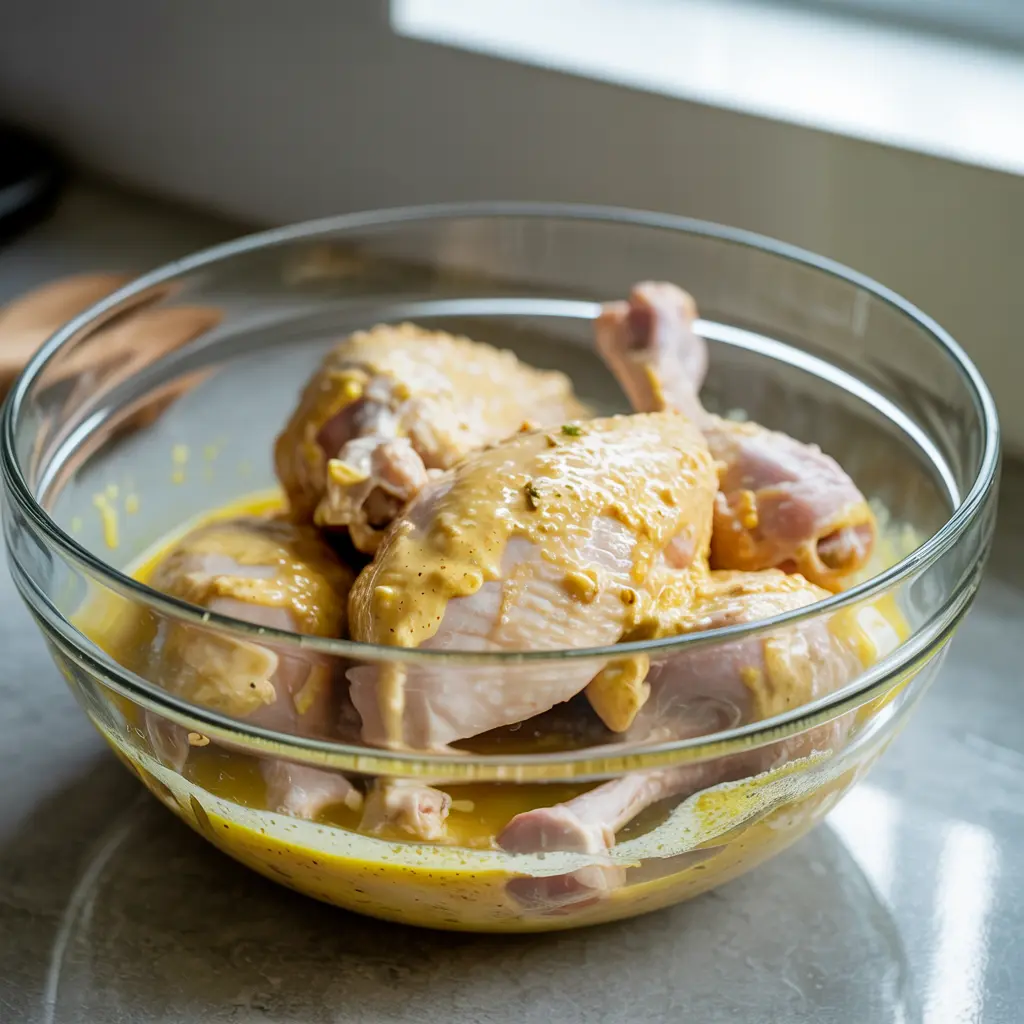
Marinating the chicken in buttermilk before coating.
2. Prepare the Seasoned Coating
In a separate large bowl, whisk together the flour, cornstarch, salt, paprika, garlic powder, onion powder, thyme, oregano, dry mustard, celery salt, ginger, black pepper, and white pepper.
Break up any small lumps so the spices are evenly distributed.
3. Coat the Chicken
Remove a piece of chicken from the marinade and allow some of the excess to drip away.
Place it into the seasoned flour and press the coating firmly around the chicken.
For a thicker crust, dip the coated chicken briefly back into the buttermilk mixture and then return it to the seasoned flour.
Press the second layer of flour onto the chicken rather than simply tossing it around. This helps create the rough, irregular surface that becomes extra crispy during frying.
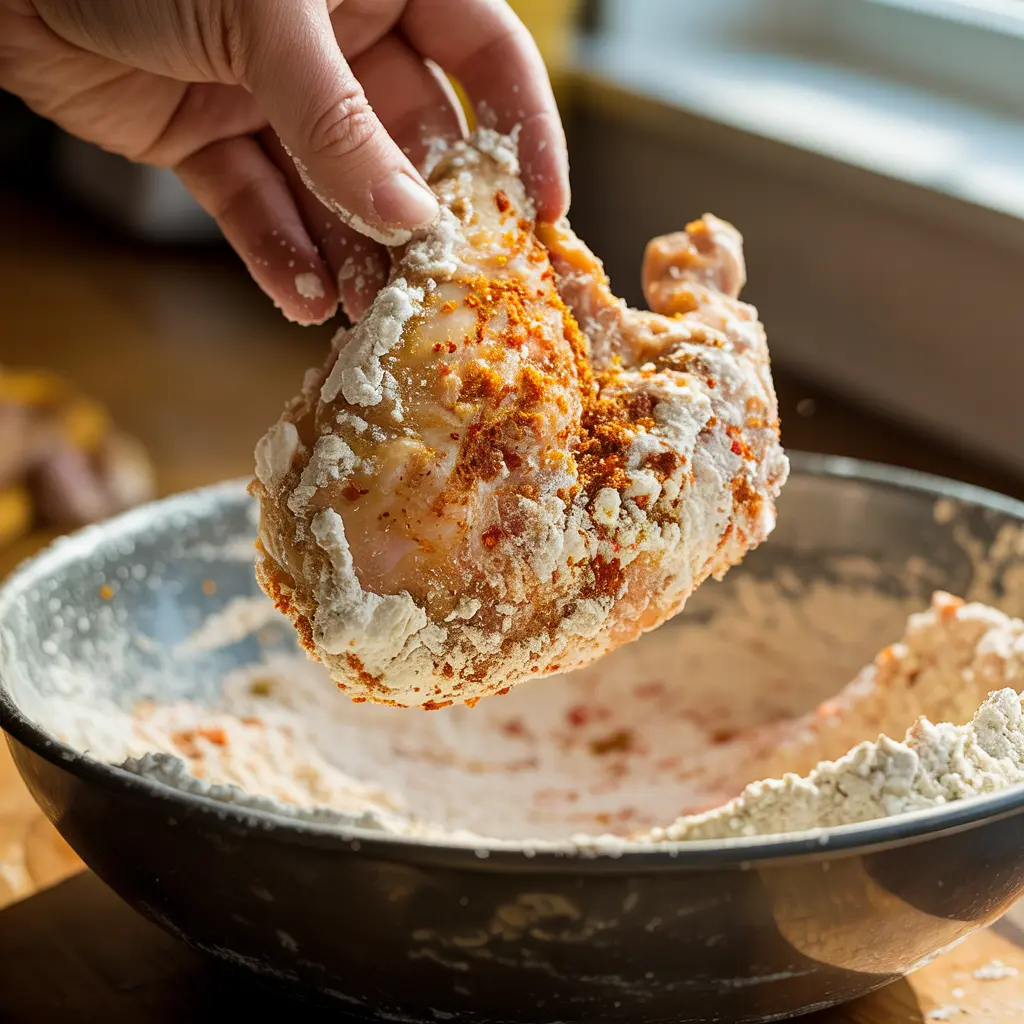
Press the seasoned flour firmly onto each piece of chicken for a textured crust.
4. Let the Coated Chicken Rest
Arrange the coated chicken on a wire rack and let it rest for about 10 minutes.
This gives the flour coating time to hydrate slightly and adhere to the chicken before it goes into the oil.
5. Heat the Oil
Pour enough oil into a heavy pot or deep skillet to allow the chicken to fry without sitting directly against the bottom.
Heat the oil to approximately 350°F (175°C).
Avoid filling the pot too high with oil. Leave plenty of room around the chicken and remember that adding chicken will cause the oil level to rise.
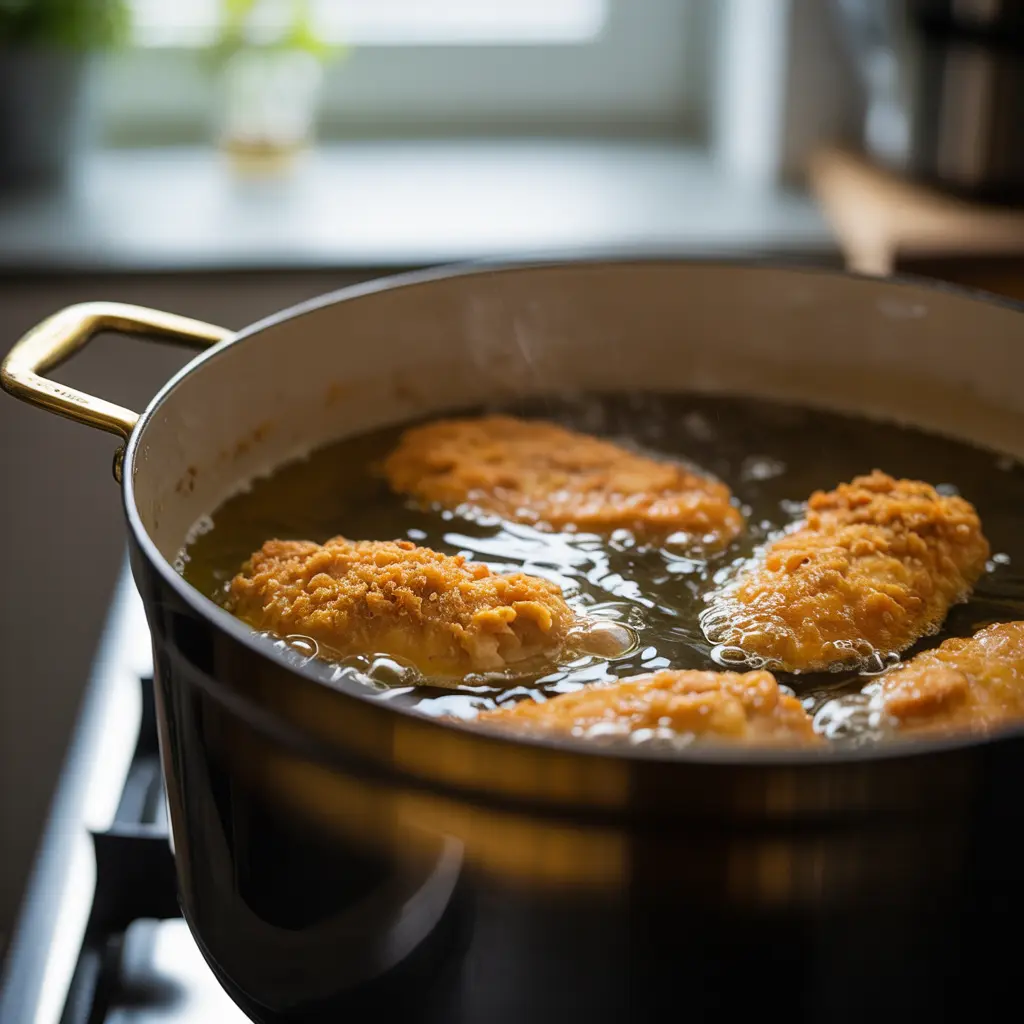
6. Fry in Batches
Carefully lower a few pieces of chicken into the hot oil.
Do not overcrowd the pot. Too much chicken at once can cause the oil temperature to drop, which may leave you with a greasy coating instead of a crisp one.
Fry the chicken, turning when necessary for even browning. Cooking time will vary according to the size and type of chicken pieces.
Use the thermometer rather than time alone to determine when the chicken is cooked. Poultry should reach 165°F (73.9°C) internally.
Fry the chicken in batches so the coating stays crisp.
7. Drain the Chicken
Transfer the finished chicken to a wire rack set over a baking sheet.
Letting the chicken drain on a rack allows excess oil to drip away while air can circulate underneath the crust. This helps protect the crispy coating.
Let it rest briefly before serving.
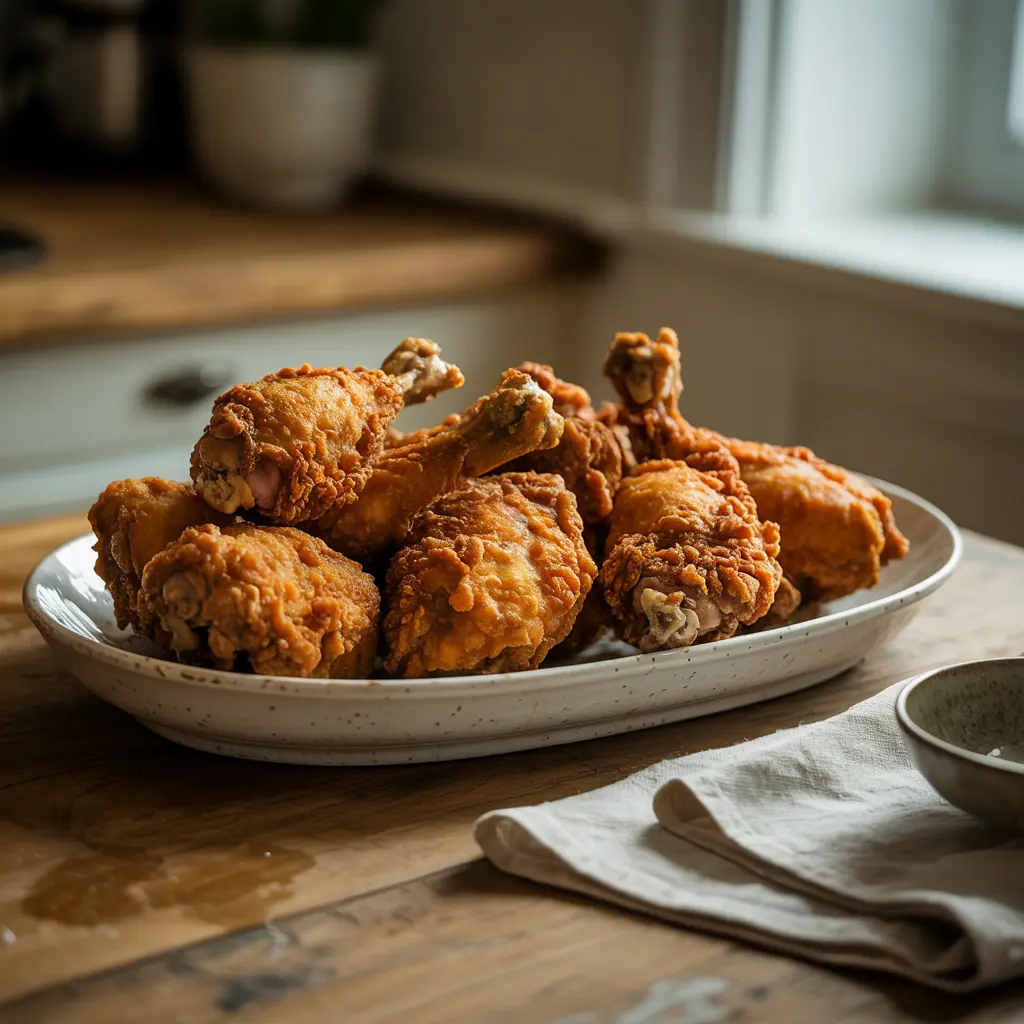
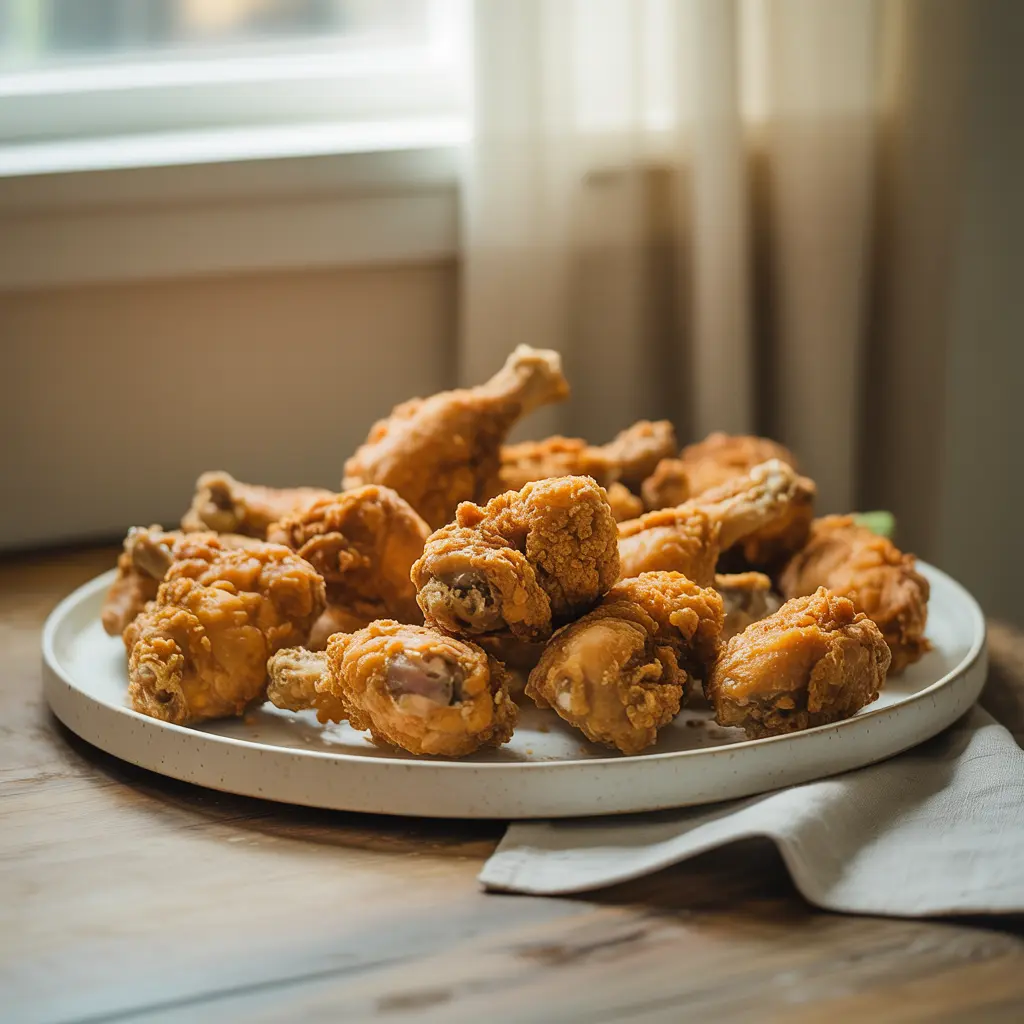
Golden, crispy and seasoned fried chicken ready for dinner.
Cooking Tips for Extra-Crispy Chicken
Keep the oil temperature steady
The oil temperature can fall quickly when cold chicken is added. Frying in smaller batches makes temperature control easier.
Don't skip the coating rest
That short rest after dredging helps the flour mixture adhere to the chicken.
Press the flour onto the chicken
Instead of lightly dusting the chicken, press the seasoned coating firmly against each piece. This creates more texture in the crust.
Use a thermometer
Frying time is not identical for every piece of chicken. A thermometer gives you a much better indication of doneness.
Don't overcrowd the pot
Give the chicken room to fry. If pieces are packed tightly together, the oil temperature can drop and the chicken can steam rather than crisp.
Drain on a rack
A wire rack keeps the bottom of the chicken from sitting in its own oil and helps preserve the crunchy coating.
Can I Double-Coat the Chicken?
Yes. Double coating is a good option if you like a thicker, more textured crust.
After the first flour coating, dip the chicken back into the buttermilk mixture and then into the seasoned flour again.
Press the second coating firmly onto the chicken and allow it to rest before frying.
Keep in mind that a thicker crust can require slightly more careful frying because the outside can brown before the center is fully cooked.
Variations
Spicy KFC-Style Chicken
Add ½ to 1 teaspoon of cayenne pepper to the seasoned flour.
For a milder heat, use the smaller amount. For more noticeable heat, increase it gradually.
Extra-Peppery Chicken
Increase the black and white pepper slightly for a sharper savory flavor.
Boneless Fried Chicken
Use boneless chicken thighs or breasts cut into similarly sized pieces.
Boneless pieces usually cook faster, so monitor the internal temperature closely.
Chicken Tenders
Cut boneless chicken breast into strips before marinating. Adjust the frying time because smaller pieces cook much more quickly than bone-in pieces.
Extra-Crunchy Coating
Use the double-dredging method and make sure the coated chicken rests before frying.
Ingredient Substitutions
Buttermilk Substitute
If you don't have buttermilk, combine regular milk with a small amount of lemon juice or white vinegar and allow it to stand briefly before using.
The result won't be identical to cultured buttermilk, but it can work as a practical substitute.
Cornstarch
You can replace the cornstarch with additional all-purpose flour, although the finished coating may be slightly different in texture and a little less light and crisp.
Vegetable Oil
Canola oil is a suitable neutral alternative. Peanut oil can also work if it fits your dietary needs and household preferences.
Chicken Pieces
The recipe can be made with a mixture of thighs, drumsticks, wings, and breast pieces. Just keep an eye on the different cooking times.
Dietary Variations
Gluten-Free
Use a certified gluten-free all-purpose flour blend and verify that the other packaged seasonings are gluten-free.
Because different gluten-free flour blends behave differently during frying, the coating texture may vary from the original recipe.
Dairy-Free
Use a suitable dairy-free cultured milk or unsweetened dairy-free buttermilk-style alternative in place of the buttermilk.
Lower-Carbohydrate Option
A traditional flour coating is not low-carb. If you need a lower-carbohydrate version, the flour mixture would need to be substantially changed, and the resulting texture will not be the same as this recipe.
Make-Ahead Instructions
The chicken can be marinated several hours ahead of cooking and refrigerated until you're ready to continue.
You can also prepare the seasoned flour mixture in advance and keep it covered until needed.
For best coating quality, bread the chicken relatively close to frying time rather than leaving the coated pieces uncovered in the refrigerator for a long period.
Storage
Allow leftover chicken to cool before transferring it to a covered container.
Refrigerate leftovers and use them within a few days for best quality.
The coating will naturally soften during refrigeration, so reheating is important if you want to restore some of the original crispness.
Can You Freeze Fried Chicken?
Yes, fried chicken can be frozen, although the crust may not be quite as crisp after thawing and reheating.
For best quality, cool the chicken completely, wrap individual pieces well, and place them in a freezer-safe container or bag.
Thaw refrigerated leftovers before reheating when practical.
How to Reheat KFC-Style Chicken
The oven or air fryer is preferable when you want to bring back some of the crisp texture.
Oven
Place the chicken on a rack over a baking sheet and heat in a moderate oven until warmed through.
Air Fryer
Place the chicken in a single layer and heat until hot and crisp.
Avoid piling the pieces on top of each other.
Microwave
The microwave is convenient but tends to soften the crust. If crispness matters, finish the chicken in an oven or air fryer instead.
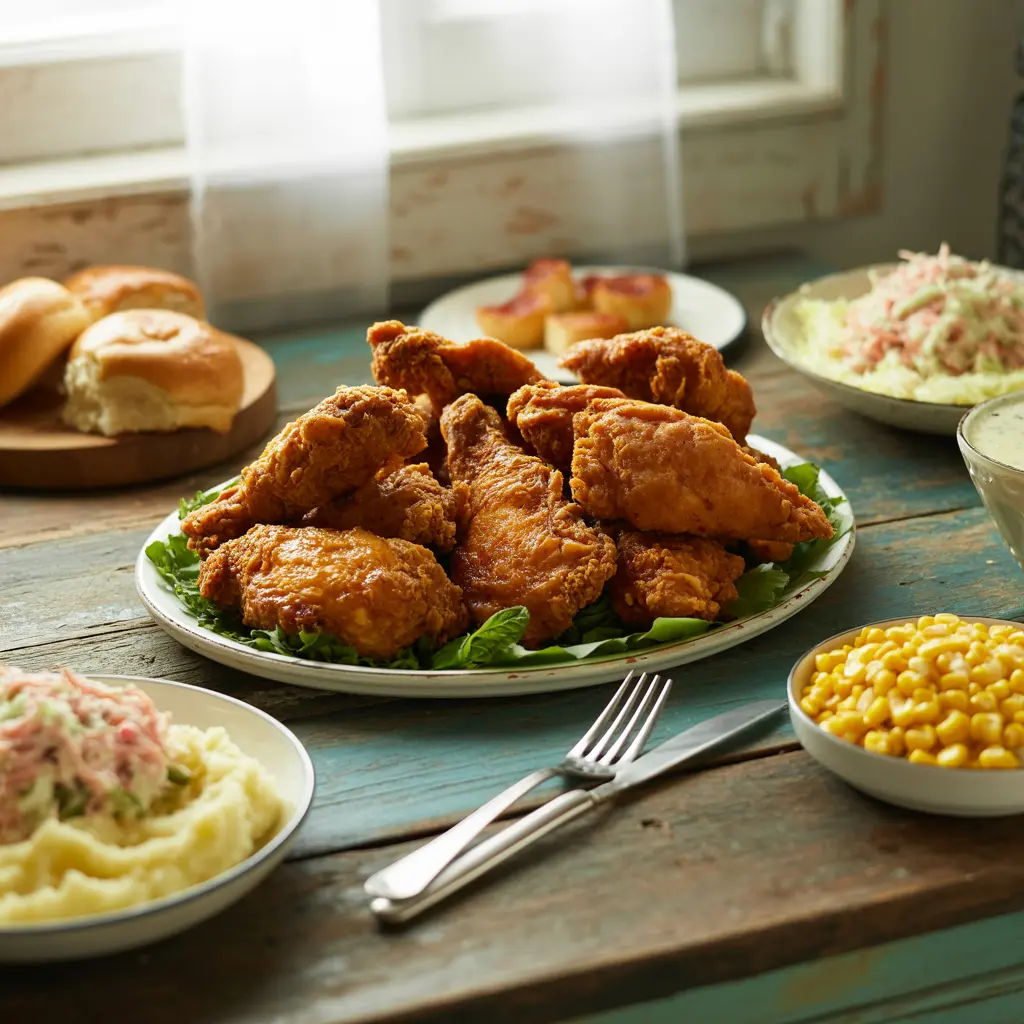
Serve crispy fried chicken with your favorite classic comfort-food sides.
What to Serve With KFC Chicken
This crispy chicken works especially well with classic comfort-food sides.
Try serving it with:
Creamy coleslaw
Mashed potatoes
Gravy
Corn on the cob
Green beans
Mac and cheese
Dinner rolls
Buttermilk biscuits
Potato wedges
Garden salad
Pickles
For an easy family dinner, choose one creamy side, one vegetable, and something fresh or crunchy to balance the fried chicken.
Recipe Notes
Keep the chicken refrigerated while it marinates.
Bring the oil back toward the target temperature between batches.
Fry similarly sized pieces together when possible.
Don't rely on color alone to determine whether chicken is cooked.
Always check the thickest part of the chicken with a food thermometer.
Let fried chicken drain on a rack rather than stacking it immediately.
For the crispiest leftovers, reheat them in the oven or air fryer.
Neutral frying oil, such as vegetable or canola oil
Instructions
1
Whisk the buttermilk and egg together in a large bowl. Add the chicken and turn to coat. Cover and refrigerate for at least 4 hours or overnight.
2
In a separate large bowl, whisk together the flour, cornstarch, salt, paprika, garlic powder, onion powder, thyme, oregano, dry mustard, celery salt, black pepper, white pepper, ginger, and optional cayenne.
3
Remove each chicken piece from the marinade, allowing excess liquid to drip away. Place it into the seasoned flour and press the coating firmly onto the chicken.
4
For a thicker crust, dip the floured chicken briefly back into the buttermilk mixture and dredge it in the flour again.
5
Arrange the coated chicken on a wire rack and let it rest for about 10 minutes.
6
Heat several inches of neutral frying oil in a heavy Dutch oven or deep skillet to approximately 350°F (175°C).
7
Carefully add chicken pieces in batches. Avoid overcrowding the pan.
8
Fry, turning as needed for even browning, until the coating is deep golden and the chicken reaches an internal temperature of 165°F (73.9°C).
9
Transfer the chicken to a wire rack set over a baking sheet and allow excess oil to drain.
10
Repeat with the remaining chicken, allowing the oil to return toward 350°F between batches.
Nutrition Facts
Amount Per Serving
Calories613kcal
% Daily Value *
Total Fat31.2g48%
Saturated Fat8g40%
Trans Fat0.2g
Cholesterol134mg45%
Sodium840mg35%
Potassium409mg12%
Total Carbohydrate44g15%
Dietary Fiber2g8%
Sugars4g
Protein30g60%
* Percent Daily Values are based on a 2,000 calorie diet. Your daily value may be higher or lower depending on your calorie needs.
Note
Cooking time varies according to the size and type of chicken pieces.
Use an instant-read thermometer rather than relying only on cooking time.
Keep the oil temperature as steady as possible.
Double dredging creates a thicker, more textured coating.
For best texture, drain the fried chicken on a rack instead of stacking it.
This is a homemade KFC-style recipe and is not KFC's official confidential recipe.
USDA guidance recommends cooking poultry to 165°F (73.9°C) internally.
Nutrition information is an estimate and may vary depending on the ingredients, brands used, preparation method, and serving size.
Pin this recipe to share with your friends and followers.
Katie
Our Family Taste author
Katie is the recipe creator behind Our Family Taste, sharing easy family recipes, comforting favorites, simple desserts, and practical cooking ideas for everyday life.