

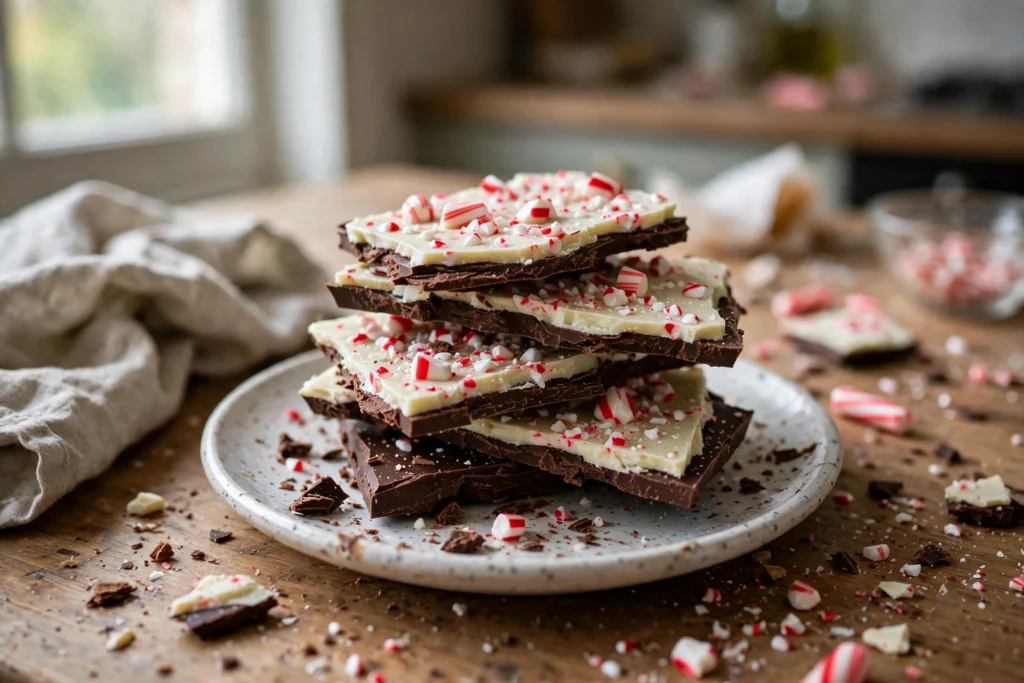

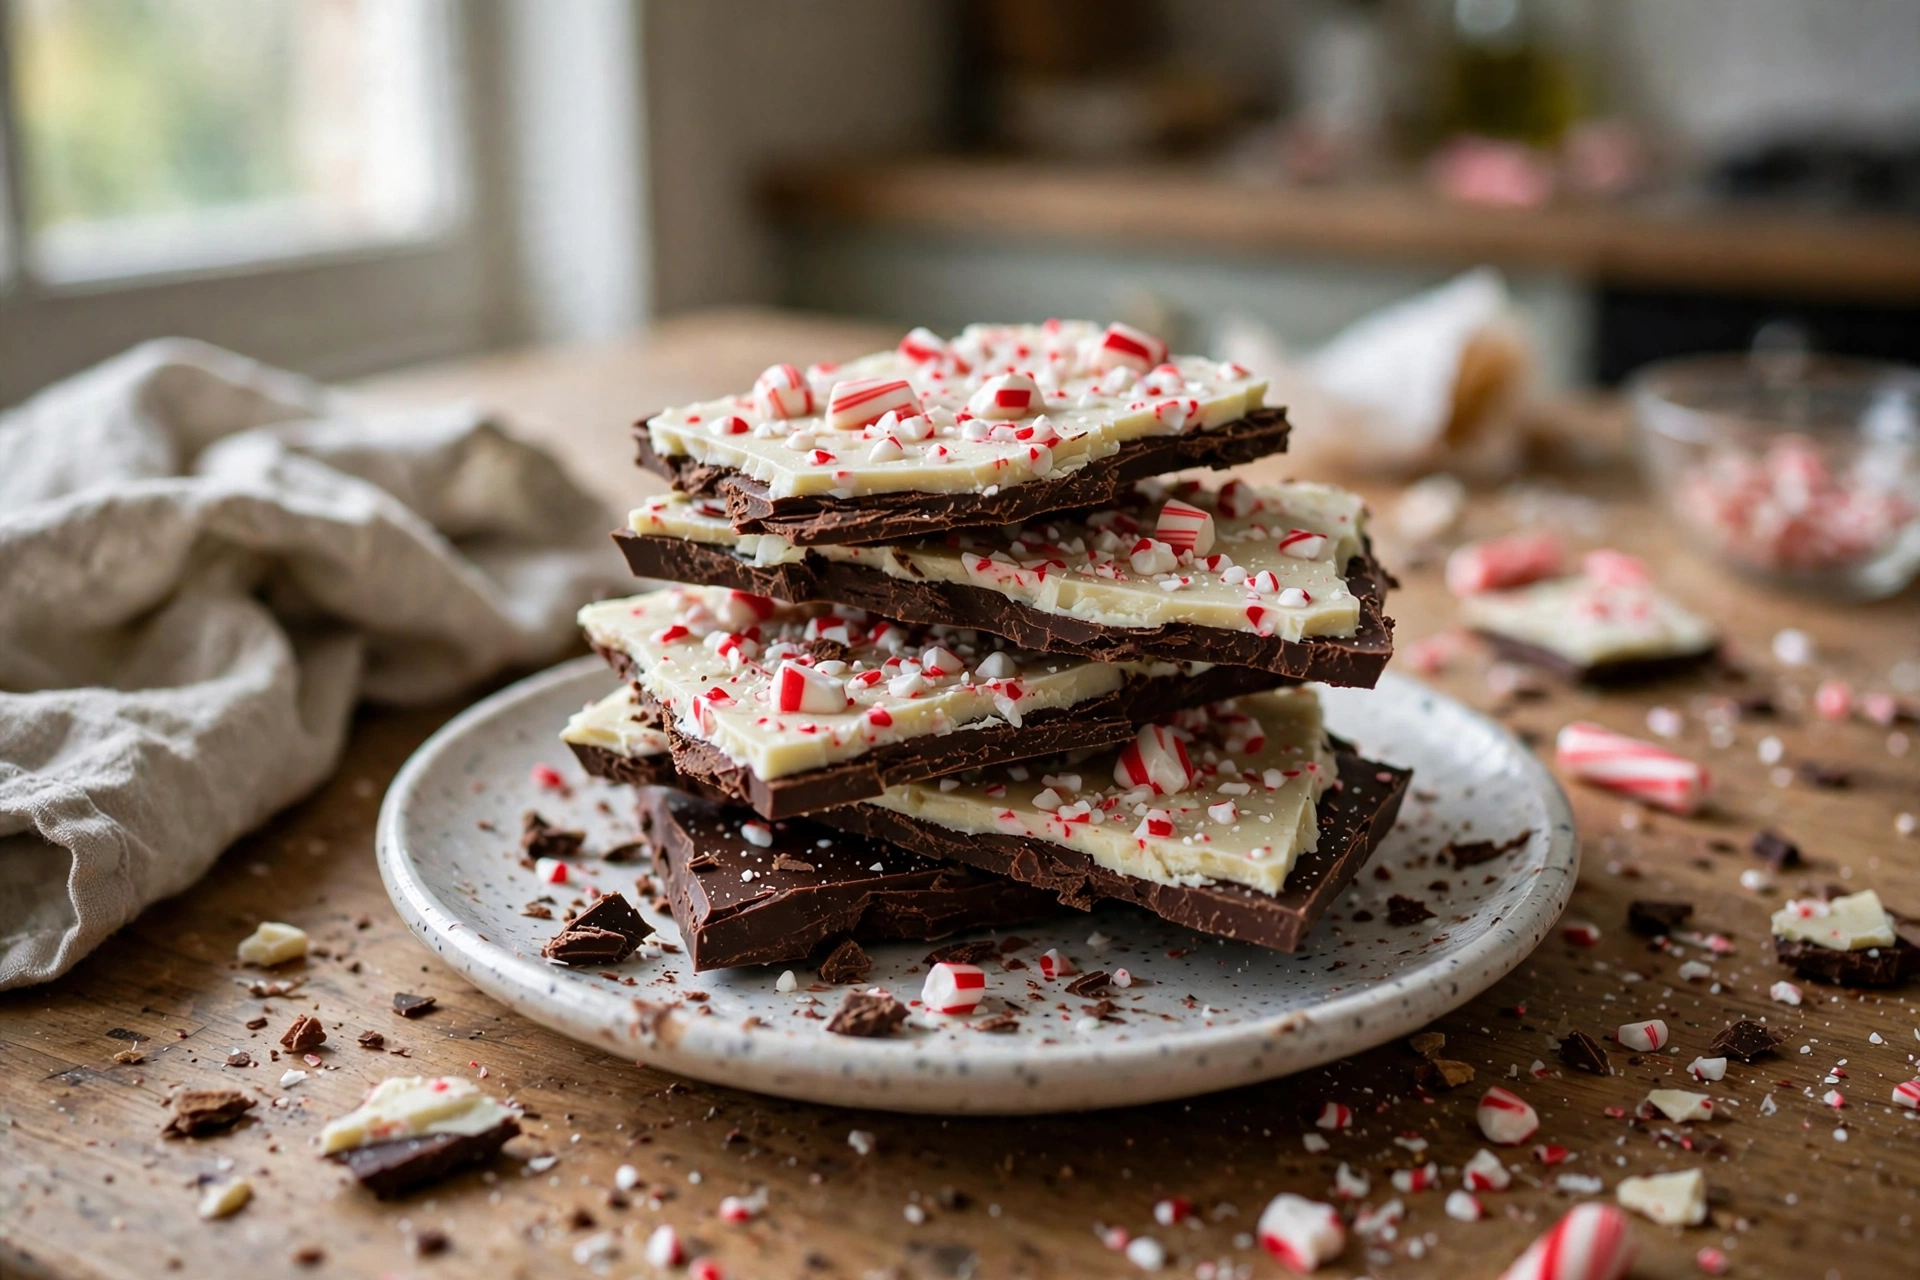
Peppermint bark is two layers of chocolate, dark on the bottom and white on top, finished with crushed candy canes. This version takes 1 hour 20 minutes from start to finish, makes 24 pieces, and costs about 9 dollars in ingredients. The result is a slab that breaks into clean pieces, with layers that stay together and a candy topping that stays put instead of sliding off in the bag.
That clean break is the whole point of this recipe. Peppermint bark looks simple, and the ingredient list is simple. The part that trips people up is timing. Pour the white chocolate over a dark layer that has gone fully cold and hard, and the two layers cool as strangers. They look fine in the pan, then peel apart the first time you break a piece. Wait for the dark layer to reach the tacky stage instead, set on the surface but still soft enough to take a light fingerprint, and the layers bond as they cool together. The rest of the recipe is just melting chocolate with care and crushing candy to the right size.
No oven is involved, no candy thermometer is needed, and no special mold is required. A rimmed baking sheet, two bowls, and a spatula cover the equipment. The bark sets in the fridge, breaks by hand or with a knife, and keeps for weeks, which makes it one of the easiest homemade gifts in a Christmas kitchen. A tin of these pieces, layered between parchment paper, looks like it came from a candy shop and tastes better than most store versions because the peppermint stays bright and the chocolate stays thick.
Table of Contents
Why You Will Love This Peppermint Bark
- Four ingredients and no baking, so the recipe fits into a busy December afternoon without a long shopping list.
- The tacky layer method gives layers that hold together when you break, cut, and pack the bark.
- One batch makes 24 pieces, enough for a party tray plus a gift tin with pieces to spare.
- The bark keeps for 2 weeks at room temperature and 3 months in the freezer, so it can be made well ahead of Christmas.
- The peppermint flavor is easy to tune, lighter with half a teaspoon of extract or bolder with a full teaspoon.
- It is a good first candy project for a new cook, since every step is visible and easy to fix while the chocolate is still soft.
Ingredients You Will Need
Four ingredients carry this recipe, so each one needs to be the right kind. Cheap swaps change the texture more here than in a cake, where flour and eggs can cover a weak ingredient. Buy chocolate you like eating on its own, because nothing else hides it.
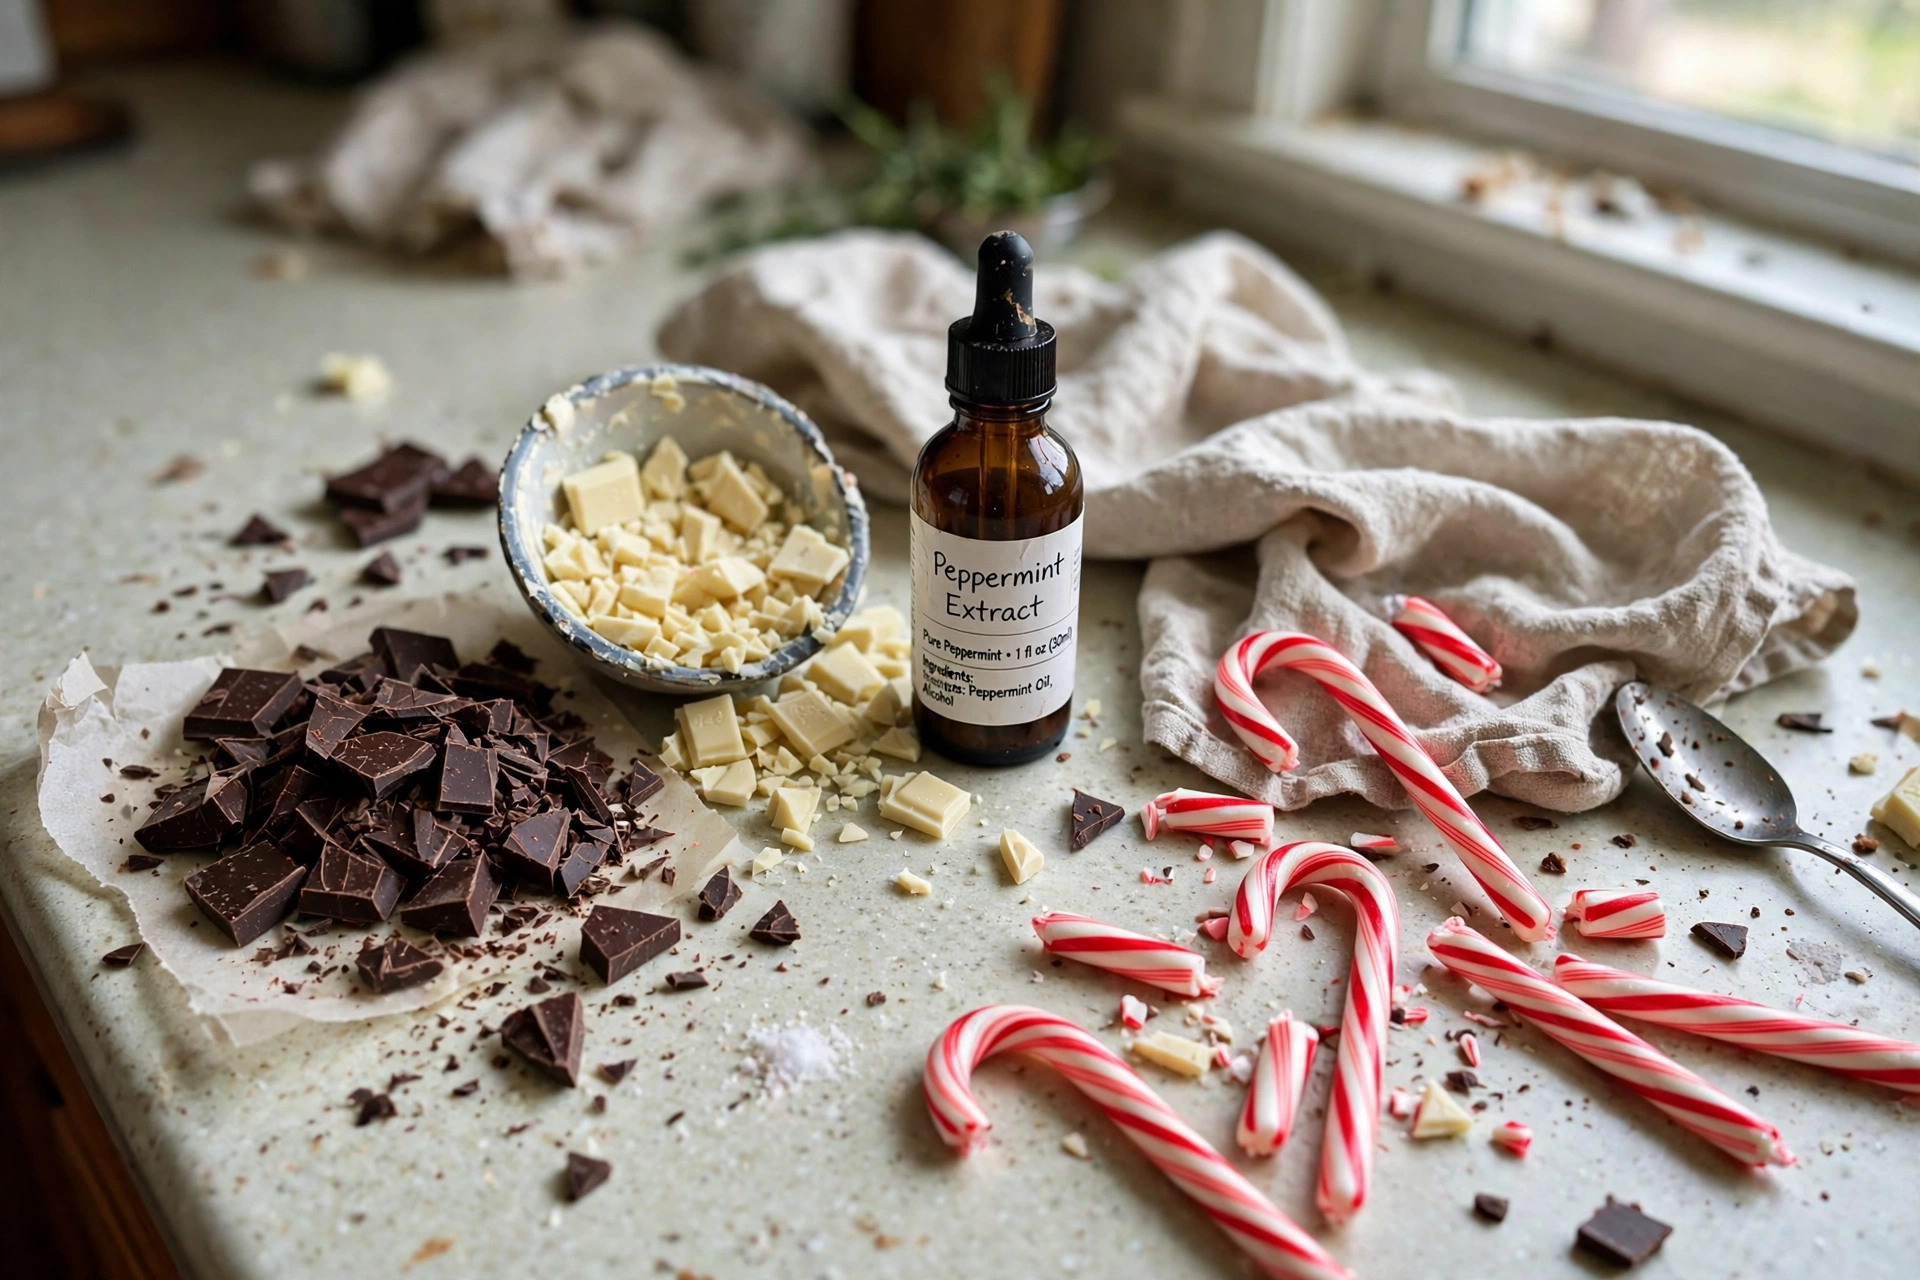
Dark Chocolate: Twelve ounces of dark or semisweet chocolate, chopped from bars or good quality chips. Dark chocolate forms the base layer and gives the bark its deep flavor and firm snap. Bars melt more evenly than chips in most cases, because chips hold added stabilizers that help them keep their shape in cookies. If chips are what you have, they still work, just stir more often and stop heating the moment they look mostly melted. The leftover heat in the bowl finishes the job.
White Chocolate: Twelve ounces of white chocolate, chopped from bars or chips that list cocoa butter as a fat. Check the label before you buy. White chocolate made with palm kernel oil or coconut oil instead of cocoa butter melts fine on its own, but it bonds poorly to a real dark chocolate layer and is a common cause of peeling layers. It also sets softer and can taste waxy. Real white chocolate costs a little more and gives a cleaner snap and a smoother finish.
Peppermint Extract: One teaspoon of peppermint extract, split between the two layers. Peppermint extract is strong, so measure it rather than pouring freehand. Half a teaspoon goes into the dark chocolate and half a teaspoon into the white chocolate, which spreads the flavor evenly instead of loading it all into the top layer. Do not swap in mint extract, which tastes like toothpaste next to chocolate. Peppermint oil is a different product and far stronger, so it is not a one to one swap for extract in this recipe.
Candy Canes: Three quarters of a cup of crushed candy canes, about 8 standard candy canes or 24 small round peppermint candies. The topping needs a mix of small pieces and fine crumbs, not dust alone and not large shards alone. Dust melts into the white chocolate and turns it pink. Large shards look pretty in the pan and fall off the finished pieces. Crush the candy in a sealed bag with a rolling pin, then shake out the finest dust through a small strainer if you want a very clean look, and keep the rest.
Equipment You Will Need
- Rimmed baking sheet, about 13 by 18 inches or 12 by 17 inches
- Parchment paper
- Two microwave safe bowls, or two heatproof bowls for a double boiler
- Silicone spatula or offset spatula
- Sealed zip top bag and a rolling pin for crushing candy
- Sharp knife for cutting, optional if you prefer breaking the bark by hand
How to Make Peppermint Bark
- Crush the candy canes: Unwrap the candy canes and place them in a sealed zip top bag. Press out most of the air and seal the bag. Roll over the bag with a rolling pin, or tap it firmly with the flat side of a meat mallet, until the candy breaks into small pieces about the size of coarse crumbs. Aim for pieces no bigger than a pea, with some finer crumbs mixed in. Set the crushed candy aside in a small bowl. Crushing first keeps your hands free later, when the white chocolate is soft and the clock matters.
- Melt the dark chocolate: Place the chopped dark chocolate in a microwave safe bowl. Heat it at 50 percent power for 1 minute, then stir well. Continue in 20 second bursts at 50 percent power, stirring after each burst, until the chocolate is almost fully melted with just a few small lumps left. Stir for a full minute off the heat. The leftover heat melts the last lumps and leaves a smooth, glossy bowl. If you prefer a double boiler, set the bowl over simmering water without letting the bowl touch the water, and stir until the same almost melted stage, then remove it from the heat and stir until smooth.
- Spread and rest the dark layer: Stir half a teaspoon of peppermint extract into the melted dark chocolate. Pour it onto a parchment lined rimmed baking sheet. Spread it with a spatula into an even rectangle, about 12 by 10 inches, and close to one quarter inch thick. Tap the pan lightly on the counter to level the surface and pop any large bubbles. Let the layer rest at room temperature for 15 to 20 minutes. You want it set enough to hold its shape, but still slightly tacky when you touch an edge lightly. Do not put it in the fridge for this rest. A fridge chilled layer goes hard and cold, and the white layer poured on top will not bond to it.
- Melt the white chocolate: While the dark layer rests, melt the white chocolate the same way, but with more care. White chocolate burns at a lower temperature than dark chocolate, so use 50 percent power and short 20 second bursts from the start, stirring after each one. Stop when a few small lumps remain and stir off the heat until smooth. If the white chocolate looks thick or grainy, it got too hot or a drop of water reached it. A teaspoon of neutral oil stirred in can sometimes rescue a slightly thick bowl, but a fully seized bowl will not come back to smooth. Start that layer again with fresh chocolate and a dry bowl.
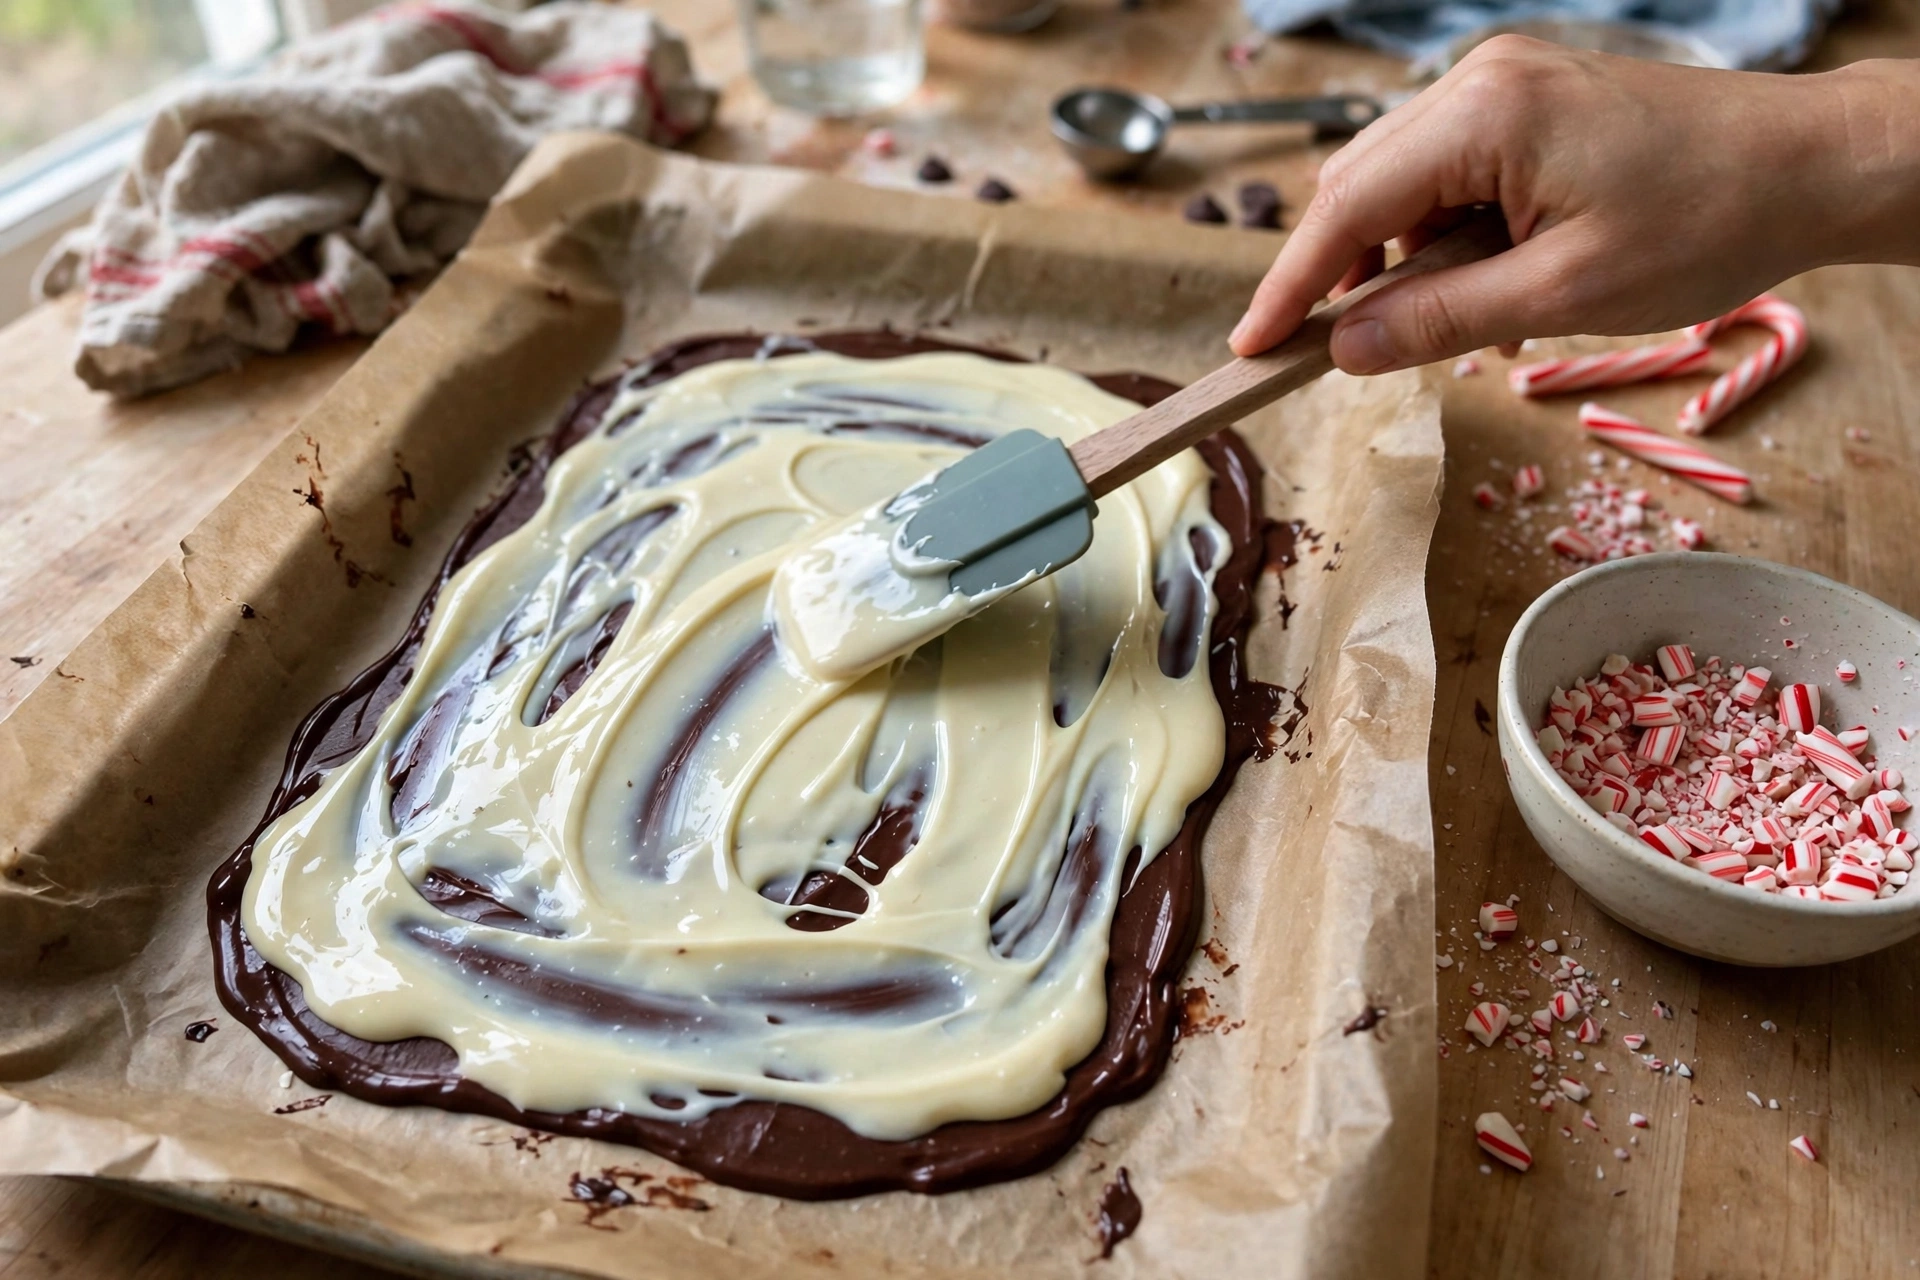
- Layer the white chocolate: Stir the remaining half teaspoon of peppermint extract into the melted white chocolate. Check the dark layer once more. It should feel set but tacky, not wet and not hard. Pour the white chocolate over the dark layer and spread it gently to the edges with a spatula, using light strokes so you do not drag the dark layer up into the white. Work from the center outward. If the white chocolate starts to set as you spread, stop and let the spatula rest. Overworking a setting layer leaves drag marks that show in the finished slab.
- Top with candy and set: Sprinkle the crushed candy canes evenly over the white chocolate while it is still soft. Press the pieces down very lightly with your fingertips or the back of a spoon, just enough to seat them in the chocolate. Do not press hard enough to push them through to the dark layer. Move the pan to the fridge and chill for 45 to 60 minutes, until the slab is fully firm and cold to the touch. A fully set slab lifts cleanly off the parchment without bending.
- Break and serve: Lift the slab out of the pan by the parchment edges and peel the paper away from the back. Let the slab sit at room temperature for 5 to 10 minutes before breaking or cutting. Cold bark straight from the fridge cracks in odd places and can split along the layer line. Break it by hand into irregular pieces for a classic bark look, or cut it with a large sharp knife using firm, steady pressure and no sawing motion. Store the pieces as described below, and keep a few back for tasting.
Pro Tips for Peppermint Bark That Holds Together
Dry bowls matter more than fancy chocolate. One drop of water in melted chocolate turns it grainy and stiff, a fault called seizing. Dry the bowl, the spatula, and your hands before you start, and keep the measuring spoon dry when you add extract. Water based extract is fine in the small amount used here, because it goes into warm, fully melted chocolate and gets stirred in fast. It causes trouble only when it hits chocolate that is already cooling or when it is added in a large splash.
Heat is the second fault to watch. Microwaves vary, so 50 percent power and short bursts protect both chocolates. Dark chocolate forgives a little extra heat. White chocolate does not. If your microwave runs hot, drop to 30 second bursts at first and shorten them as the chocolate softens. Stirring matters as much as heating, because the chocolate at the edge of the bowl heats faster than the center.
Thickness controls the snap. A layer close to one quarter inch thick for each chocolate gives a slab that breaks cleanly and feels substantial to bite. Spread thinner and the bark turns brittle and shatters into crumbs. Spread thicker and the center takes far longer to set, which can leave a soft middle under a firm top. The rectangle size in this recipe keeps both layers in that range on a standard rimmed sheet.
Candy size controls the topping. Pieces the size of coarse crumbs stick well and give crunch in every bite. Fine dust alone melts into pink streaks, and large shards look dramatic but fall off in storage. If your crushed candy has a lot of dust, shake the bag gently over a bowl and use the larger pieces for the top, saving the dust for stirring into hot chocolate.
Cutting temperature controls the break. Bark cut straight from the fridge is cold and brittle. Bark cut after 5 to 10 minutes at room temperature gives a little under the knife and breaks along cleaner lines. If the slab has chilled for hours, give it 15 minutes on the counter. Warm hands leave fingerprints on chocolate, so handle finished pieces by their edges or with clean gloves when packing gifts.
Variations
Triple Chocolate Bark: Add a middle layer of milk chocolate between the dark and white layers. Melt 8 ounces of milk chocolate, spread it over the tacky dark layer, let it reach the tacky stage, then add the white layer. The result is richer and sweeter, and the three stripes look striking in a gift tin. Keep each layer thin so the finished slab still breaks cleanly.
Swirled Peppermint Bark: Skip the distinct layers for a marbled look. Pour the melted dark chocolate onto the pan, pour the white chocolate over it while both are still fully liquid, and drag a knife through the two chocolates in a few loose curves. Sprinkle with candy and chill. Swirled bark never has a layer separation problem, because there are no layers to separate, and it suits a casual party tray.
Salted Dark Peppermint Bark: Use only dark chocolate for both layers, or use a dark base with a thin white top, and finish with a pinch of flaky sea salt over the candy. Salt sharpens the peppermint and balances the sweetness of the white layer. Add the salt with the candy, while the top is still soft, so it sticks.
Nutty Peppermint Bark: Scatter 1/3 cup of chopped toasted almonds or pistachios over the white layer along with the candy canes. Nuts add crunch and make the bark feel more like a candy shop piece. Toast the nuts first and cool them fully, because warm nuts soften the top layer and slide.
Peppermint Mocha Bark: Stir 1 teaspoon of instant espresso powder into the melted dark chocolate with the peppermint extract. Coffee deepens the dark chocolate without making the bark taste like a coffee drink. Keep the white layer plain so the peppermint stays clear on top.
Ingredient Substitutions
No dark chocolate bars on hand? Semisweet chips work in the same amount, with the stirring care noted above. Milk chocolate can replace the dark layer, but the finished bark will be sweeter and softer, so chill it a little longer before breaking.
No white chocolate bars? White chips that list cocoa butter work the same way. White candy melts are a different product. They melt smoothly and set fast, but they taste sweeter and less like chocolate, and a melt made with palm kernel oil bonds less well to a real chocolate base. If melts are all you have, use them for the top layer only and keep the dark base real.
No candy canes? Crushed round peppermint candies give the same flavor and color. Starlight mints work too. Crushed peppermint sticks from a bulk bin are fine as long as they are fresh and crisp. Stale candy turns sticky in storage and softens the top.
No peppermint extract? Peppermint oil is far stronger, so use only 2 to 3 drops total, split between the layers, and stir it in well. Mint extract is not a good swap, because its flavor reads as spearmint next to chocolate. If you have neither, leave the extract out and let the candy topping carry the peppermint, with a lighter but still pleasant result.
Dietary Notes
This bark contains milk and soy in most chocolates, so check labels for the brands you buy. It is naturally gluten free when the chocolate and candy are certified gluten free, but candy canes vary, so read the package if you are baking for someone with celiac disease. The recipe is vegetarian as written. It is not dairy free, and a dairy free version needs dairy free dark and white chocolate, both of which melt a little differently, so test a small batch before making gifts. Peppermint candies often use Red 40 for color. If that matters for your household or your guests, look for candies colored with beet juice or other plant based color, and note it on the gift tag.
Make Ahead, Storage, and Freezing
Peppermint bark is a strong make ahead candy. Make it up to 2 weeks before you need it and store it at cool room temperature in an airtight container, with parchment paper between layers. Keep the container away from heat, sunlight, and strong smells, because chocolate picks up nearby odors fast. In a warm kitchen, the fridge is the safer home, but let refrigerated pieces sit at room temperature for 10 minutes before serving so the chocolate softens slightly and the peppermint opens up.
For fridge storage, the bark keeps for 3 weeks in an airtight container, again with parchment between layers. For the freezer, pack pieces in a freezer safe container with parchment between layers and freeze for up to 3 months. Thaw frozen bark in the fridge overnight, then bring it to room temperature for 10 minutes before serving. Do not thaw it fast in a warm room, because condensation forms on the surface and can leave white streaks, called sugar bloom, on the chocolate. Bloom looks dull but the bark is still safe to eat.
For gifts, pack pieces in a tin or a sturdy box lined with parchment, with layers separated by parchment squares. A tin keeps pieces from breaking in transit better than a bag. Add a small tag with the storage note and the date made, so the person receiving it knows it keeps for 2 weeks on the counter. Mailing bark in winter works well. Mailing it in warm weather needs an insulated mailer and a cold pack, and even then a hot delivery truck can soften it.
What to Serve With Peppermint Bark
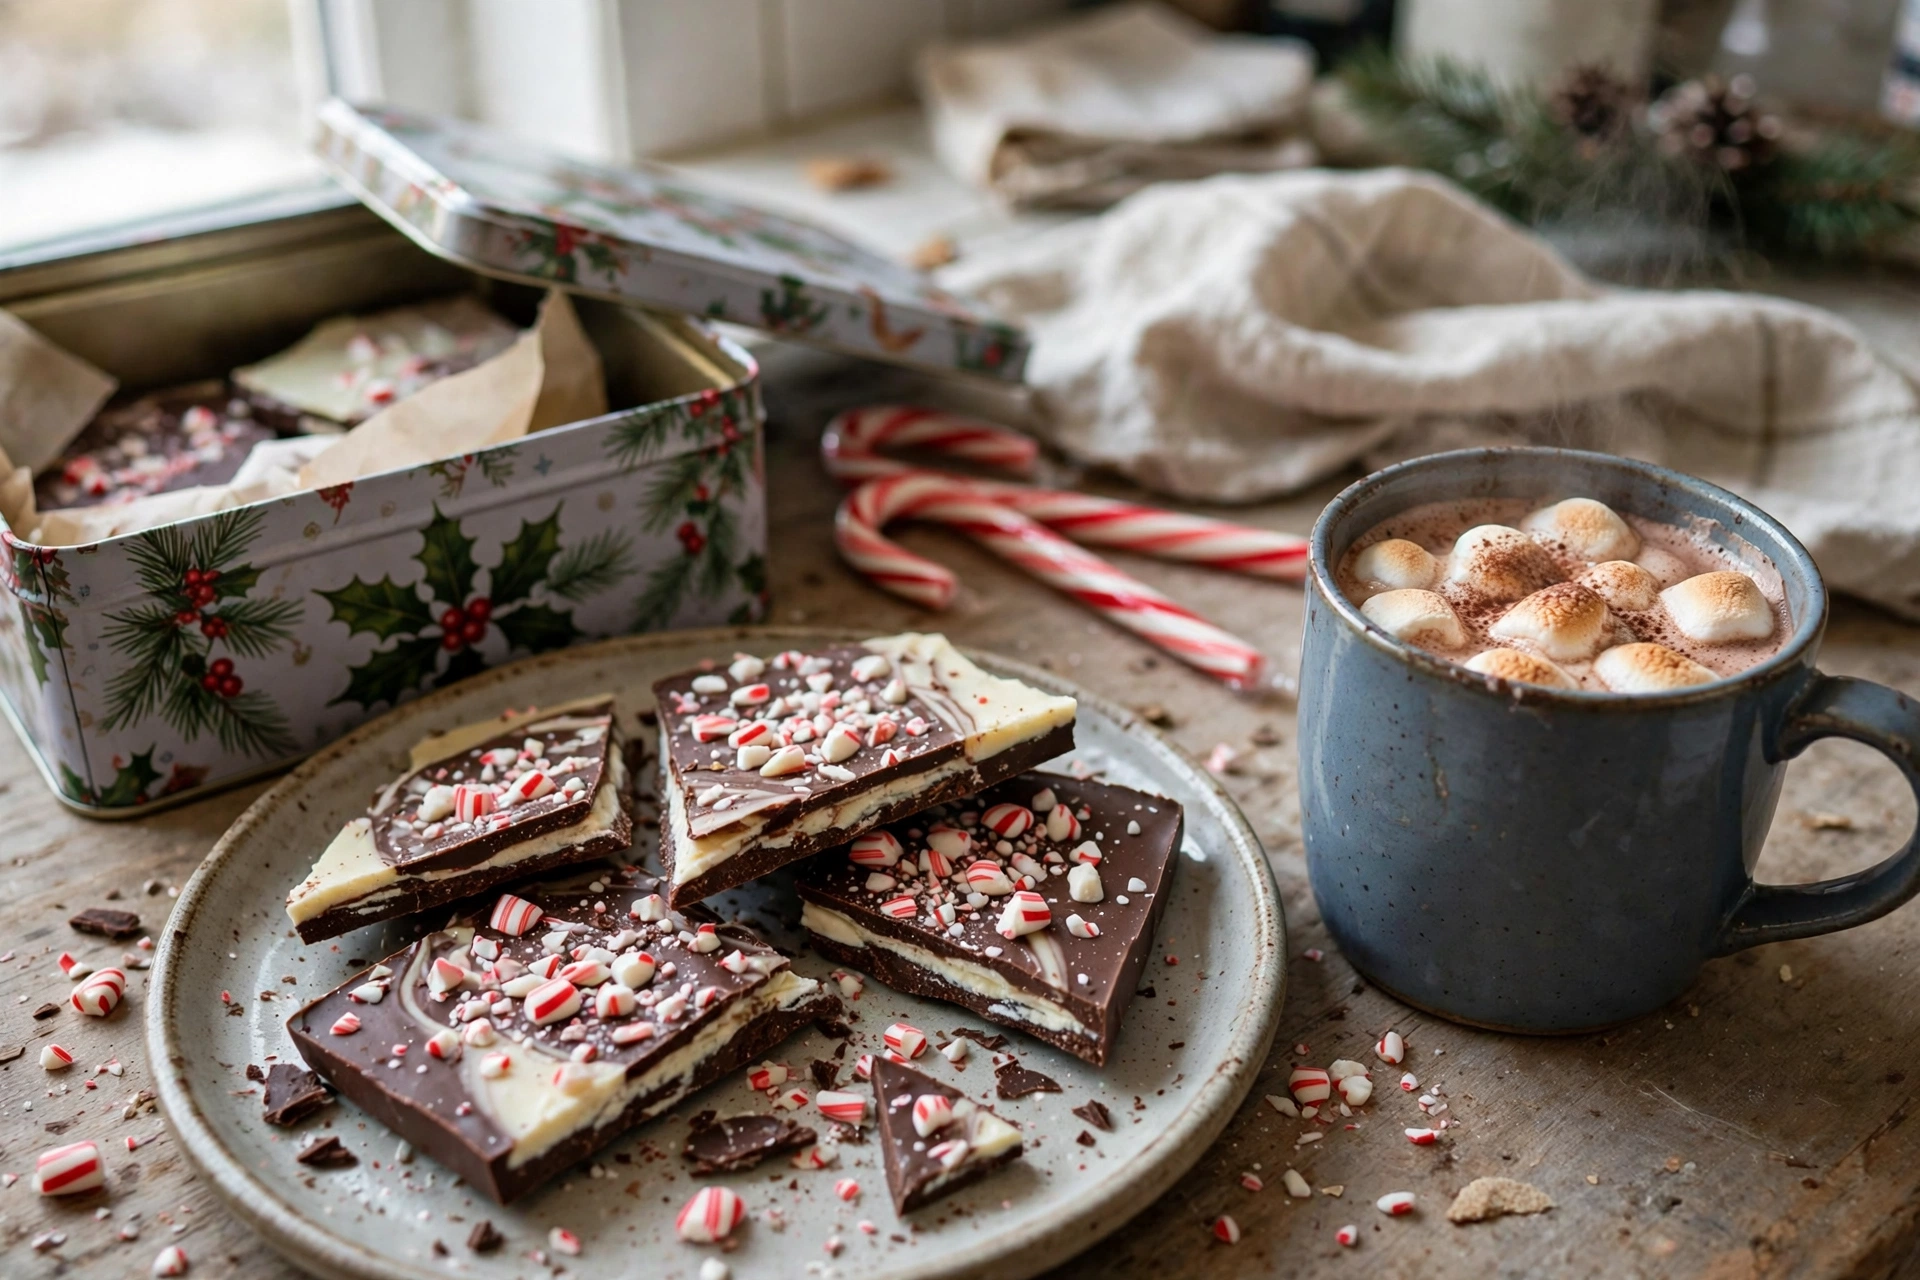
Peppermint bark sits happily on a Christmas dessert table next to cookies, but it also works as a small sweet after a rich meal. Serve it with hot chocolate, coffee, or black tea, where the peppermint cuts through the richness of the drink. A few pieces crumbled over vanilla ice cream make a fast holiday sundae, and chopped bark folded into softened ice cream and refrozen makes a simple peppermint bark ice cream for a party.
For a full holiday spread, pair the bark with Christmas sugar cookies for a cookie and candy tray with two textures, and keep the savory side covered with Mummy Hot Dogs if the gathering runs to finger food. The bark also follows a hearty main well, so a tray of it after KFC-style crispy fried chicken gives guests a light, cool finish. For a quieter sweet table, Pumpkin Cheese Ball shows how one make ahead recipe can anchor a party table, and the same planning habit applies here: make the bark early, store it well, and serve it last.
Recipe Notes
- The dark layer must reach the tacky stage, set but still slightly sticky to a light touch, before the white layer goes on. That bond is the difference between clean pieces and peeling layers.
- White chocolate must list cocoa butter as a fat. Palm kernel oil white coating bonds poorly to real dark chocolate.
- Melt at 50 percent power in short bursts, stirring after each burst. White chocolate burns faster than dark chocolate.
- Crush candy to coarse crumb size. Dust melts into pink streaks and large shards fall off.
- Let chilled bark sit 5 to 10 minutes at room temperature before breaking or cutting.
- One batch makes 24 pieces and costs about 9 dollars, based on standard grocery prices for chocolate and candy canes.
Peppermint Bark — Easy 4-Ingredient Christmas Candy
Description
Classic two layer peppermint bark with a dark chocolate base, a white chocolate top, and crushed candy canes. Four ingredients, no baking, and layers that stay together thanks to a simple tacky layer timing trick.
Ingredients
Instructions
-
Crush the candy canes
Place unwrapped candy canes in a sealed zip top bag and crush with a rolling pin into coarse crumbs no bigger than a pea. Set aside.
-
Melt the dark chocolate
Heat chopped dark chocolate at 50 percent power in 1 minute, then 20 second bursts, stirring after each, until almost melted. Stir off the heat until smooth.
-
Spread and rest the dark layer
Stir in 1/2 teaspoon peppermint extract, spread on a parchment lined rimmed baking sheet into a 12 by 10 inch rectangle about 1/4 inch thick, and rest at room temperature 15 to 20 minutes until set but still slightly tacky.
-
Melt the white chocolate
Heat chopped white chocolate at 50 percent power in short 20 second bursts, stirring after each, until almost melted. Stir off the heat until smooth.
-
Layer the white chocolate
Stir in the remaining 1/2 teaspoon peppermint extract, pour over the tacky dark layer, and spread gently from the center outward without dragging the dark layer up.
-
Top with candy and set
Sprinkle crushed candy canes evenly over the soft white chocolate, press very lightly to seat, and chill in the fridge 45 to 60 minutes until fully firm.
-
Break and serve
Lift the slab out by the parchment, let it sit at room temperature 5 to 10 minutes, then break by hand or cut with a sharp knife into 24 pieces. Serve.
Nutrition Facts
Servings 24
- Amount Per Serving
- Calories 170kcal
- % Daily Value *
- Total Fat 10g16%
- Saturated Fat 6g30%
- Sodium 15mg1%
- Total Carbohydrate 19g7%
- Dietary Fiber 1g4%
- Sugars 17g
- Protein 1g2%
* Percent Daily Values are based on a 2,000 calorie diet. Your daily value may be higher or lower depending on your calorie needs.
Note
The dark layer must be tacky, not fully hard and cold, when the white layer goes on. That is what bonds the layers. Use cocoa butter based white chocolate. Palm kernel oil coating bonds poorly to real chocolate. Keep bowls and spatulas fully dry. Water makes melted chocolate seize and turn grainy. Let chilled bark sit 5 to 10 minutes at room temperature before breaking or cutting for cleaner pieces. Store in an airtight container at cool room temperature up to 2 weeks, in the fridge up to 3 weeks, or in the freezer up to 3 months, with parchment between layers. Nutrition values are estimates calculated from this recipe's own ingredients (12 oz dark chocolate, 12 oz white chocolate, 3/4 cup crushed candy canes, 24 servings). Actual values vary by brand. Chocolate is a low moisture food, but finished bark should still be kept in a clean, dry, airtight container away from heat and strong odors. Do not leave bark in a hot car or in direct sunlight. Melted and reset chocolate is safe but loses its snap and looks dull. If bark has been at room temperature for more than 2 weeks, or shows signs of moisture damage or off smells, discard it.