

Every Thanksgiving table has one dish that quietly decides whether the whole meal tastes finished, and it is the gravy. A roast turkey can be perfectly seasoned, the mashed potatoes fluffy, the stuffing crisp at the edges — and still, without a good gravy to tie them together, something feels missing. This turkey gravy recipe uses the real pan drippings from a roast turkey, the browned bits left in the roasting pan, and one simple flour roux to turn them into a silky, deeply flavored gravy in about 25 minutes. There is no packet, no jar, and no mystery flavor here. The drippings carry the flavor of the turkey itself: roasted, savory, and rich in a way that stock alone can never quite copy. The technique is the classic one — separate the fat, cook the flour in it until it smells nutty, then whisk in the liquid a little at a time so lumps never get a chance to form. Done in that order, with the heat kept moderate, this gravy comes out smooth nearly every time, even on a first attempt. It also solves a timing problem that trips up many holiday cooks. The turkey needs to rest for at least 20 to 30 minutes before carving, and that resting window is exactly when this gravy gets made. While the turkey rests under foil, the drippings go into a saucepan, the roux comes together, and the gravy is ready by the time the carving board comes out. One more honest note before the recipe: the amount and richness of the drippings depend on the turkey. A large, well-browned bird gives generous drippings; a smaller or leaner bird gives less. The recipe below is written to flex — it explains how to measure what the pan actually gave, how to top up with stock to reach 4 cups of liquid, and how to fix the two things that most often go wrong (too thin, or lumpy).
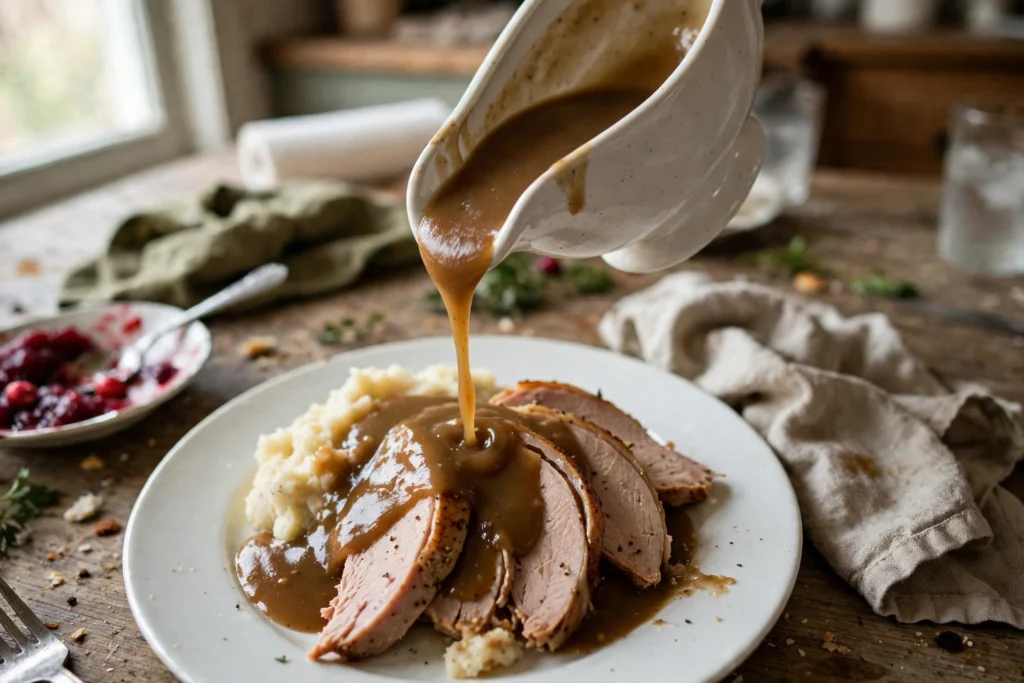
Table of Contents
Why You’ll Love This Turkey Gravy from Drippings
- Real turkey flavor: Pan drippings taste like the roast itself — deeper and more savory than any stock-only gravy.
- Genuinely lump-free: Adding the liquid gradually, while whisking constantly, prevents lumps instead of asking cooks to fix them later.
- Fast: About 25 minutes total, made entirely during the turkey’s resting time.
- Uses what is already there: The drippings are free flavor that would otherwise be left in the pan.
- Flexible: Works with generous drippings or scant ones — top up with stock either way.
- Make-ahead friendly: Made a day ahead and reheated gently, with a splash of stock to loosen it.
- Pairs with everything on the plate: Turkey, mashed potatoes, stuffing, dinner rolls.
Ingredients You’ll Need
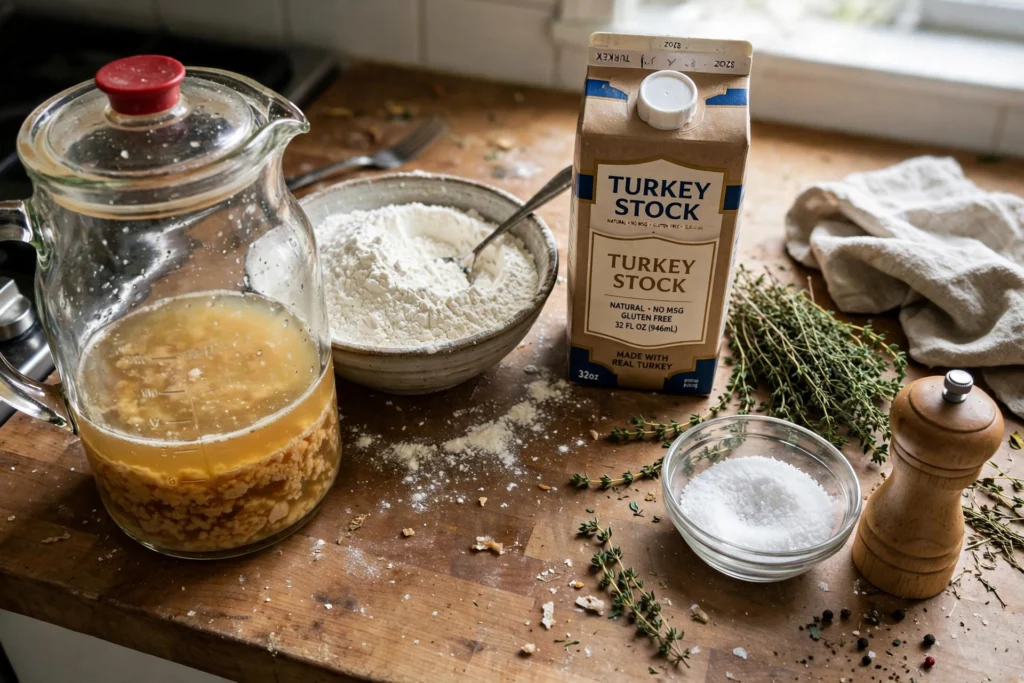
Turkey Pan Drippings (Fat + Juices, Separated): The drippings from one roasted turkey — both parts matter. The fat becomes the base of the roux, and the dark juices underneath carry the roasted flavor. Pour all drippings into a heatproof measuring jug or fat separator and let them stand 5 minutes; the fat rises, the juices settle. Expect roughly 1/2 cup of fat and 1 to 2 cups of juices from a typical large turkey, but measure rather than guess. If the pan has very little (under 1/4 cup of fat), top up the fat with unsalted butter to reach 1/2 cup, and top up the liquid with turkey or chicken stock to reach 4 cups total.
All-Purpose Flour: 1/2 cup. Equal parts fat and flour by volume, cooked into a roux, thickens 4 cups of liquid to a classic pouring consistency. Measure by spooning flour into the cup and leveling it off, not scooping from the bag.
Turkey Stock or Low-Sodium Chicken Stock: Enough stock, combined with the defatted drippings juices, to make 4 cups of liquid in total. Low-sodium stock matters because the drippings are already seasoned. Warm the stock before it goes into the roux if possible.
The Browned Bits (Fond): The browned bits stuck to the roasting pan are concentrated turkey flavor. Set the pan over medium heat, pour in about 1 cup of stock, and scrape the bottom with a wooden spoon until the bits dissolve. That liquid goes in with the drippings juices. Leave truly black, burnt bits behind — burnt tastes bitter, browned tastes rich.
Salt and Black Pepper: Added at the end and adjusted to taste, starting with 1/2 teaspoon salt and 1/4 teaspoon pepper. Drippings vary in saltiness, so seasoning last keeps control.
Fresh Thyme (Optional but Recommended): 1 teaspoon fresh thyme leaves, or 1/2 teaspoon dried thyme. Add it with the liquid so it blooms in the simmer.
Optional: A Splash of Dry White Wine or Dry Sherry: 2 tablespoons, optional, for deglazing. Dry only, never sweet; let it bubble 1 minute before the stock goes in.
Recommended Equipment
- Roasting pan
- Heatproof measuring jug (4-cup) or fat separator
- Wooden spoon or flat whisk
- Medium saucepan (2-quart)
- Whisk
- Fine-mesh strainer
- Gravy boat or small pitcher
How to Make Turkey Gravy from Drippings
1. Separate the Fat from the Drippings
Remove the turkey from the roasting pan to a carving board and tent it loosely with foil to rest. Pour all the drippings into a heatproof measuring jug or fat separator. Let the jug stand undisturbed for 5 minutes so the fat rises to the top and the juices settle below. Skim the fat off into a separate measuring cup (or pour juices from a separator’s bottom spout). Set both aside.
2. Deglaze the Pan and Measure Your Fat and Liquid
Set the roasting pan over medium heat. If using wine, pour it in and let it bubble for 1 minute, scraping the bottom. Pour in about 1 cup of stock and scrape the bottom until all the browned bits dissolve. Pour this liquid into the jug with the drippings juices. Measure: top the fat up to 1/2 cup with unsalted butter if short, and add stock to the juices until the total liquid measures 4 cups. Warm the liquid gently if cold.
3. Make the Roux
Pour the 1/2 cup of turkey fat (or fat plus butter) into a medium saucepan over medium heat. When hot and shimmering but not smoking, sprinkle in the 1/2 cup of flour all at once. Stir immediately until the flour and fat form a smooth paste. Cook, stirring constantly, for 2 to 3 minutes until light golden and nutty-smelling. Do not let it darken past golden.
4. Whisk in the Liquid, a Little at a Time
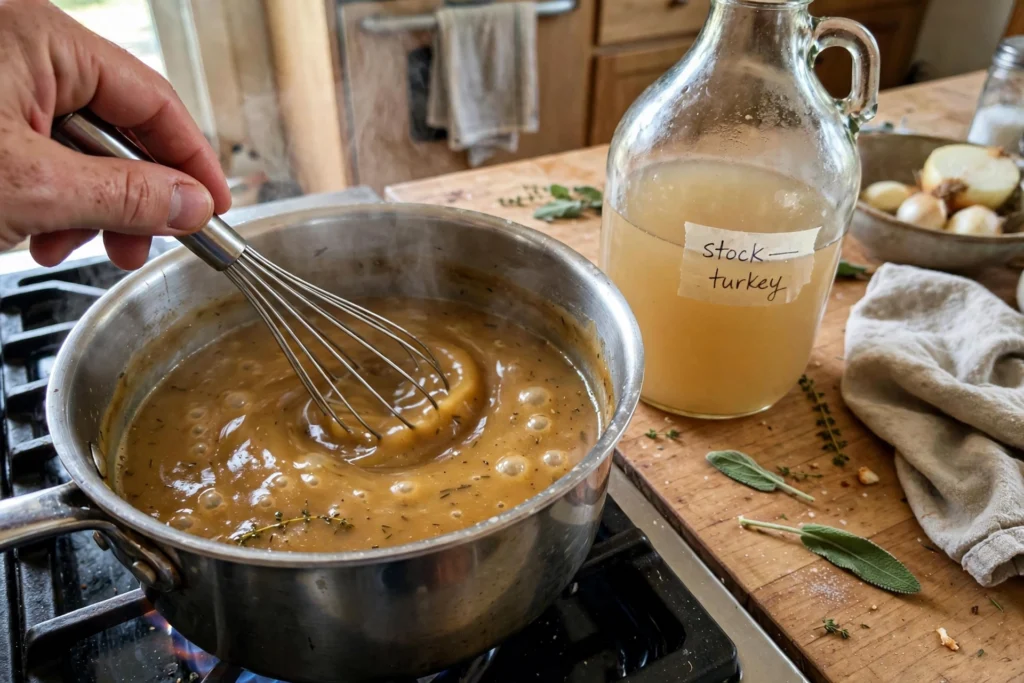
With the roux over medium heat, pour in about 1/2 cup of the warm liquid and whisk vigorously until fully absorbed and smooth — the mixture will seize up and look thick at first, and that is normal. Add another 1/2 cup, whisk until smooth, and repeat until about half the liquid is in. Then pour the rest in a steadier stream while whisking. Keep whisking the whole time.
5. Simmer Until Silky and Thick
Bring to a gentle simmer over medium heat, stirring frequently. Simmer 5 to 8 minutes, until it coats the back of a spoon and a line drawn through it holds for a second. It will look thinner hot than on the plate — judge it slightly on the thin side. If too thick, whisk in stock a tablespoon at a time.
6. Season and Strain
Remove from the heat. Stir in the fresh thyme (if not added with the liquid), then season with salt and black pepper, starting with 1/2 teaspoon salt and 1/4 teaspoon pepper, tasting after each addition. Pour through a fine-mesh strainer into a gravy boat or pitcher. Taste once more after straining and adjust.
7. Keep Warm and Serve
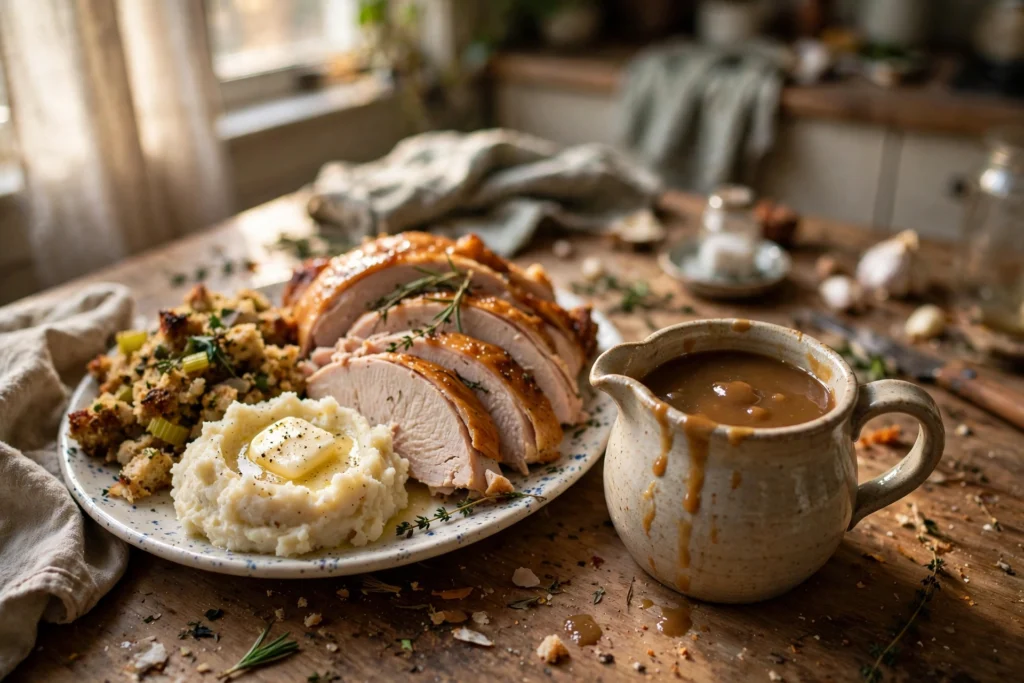
Cover loosely with foil and keep warm over the lowest possible heat or in a warm oven until serving. If a skin forms, whisk it back in just before serving. Serve generously over sliced turkey, mashed potatoes, and stuffing.
Pro Tips for Lump-Free Turkey Gravy
Warm liquid, gradual additions, constant whisking — that trio is the whole secret. Cook the roux until it smells nutty (2 to 3 minutes, light gold, not brown). Judge thickness while hot, then subtract a little — gravy thickens as it cools. Fix a thin gravy without raw flour: whisk 1 tablespoon flour into 2 tablespoons softened butter (beurre manié), whisk into the simmering gravy in small pieces, simmer 2 more minutes. Fix a lumpy gravy by straining through a fine-mesh strainer. Do not boil hard — a rolling boil can break a flour-thickened gravy. Salt last, always.
Variations
Giblet Gravy
Simmer the turkey neck and giblets (not the liver) in 4 cups water or stock with a quartered onion and bay leaf for about 1 hour while the turkey roasts; strain, chop giblets finely, use this stock as part of the 4 cups, and stir chopped giblets into the finished gravy.
Mushroom Gravy
Sauté 8 ounces sliced cremini mushrooms in 2 tablespoons butter until deeply browned, then stir into the finished gravy.
Herbed Gravy
Double the thyme and add 1 tablespoon chopped fresh sage and 1 tablespoon chopped fresh flat-leaf parsley at the seasoning step.
Make-Ahead Gravy (No Drippings Yet)
Use 1/2 cup unsalted butter instead of turkey fat and 4 cups turkey or chicken stock, plus 1 tablespoon soy sauce or a roasted turkey wing simmered in the stock. When real drippings arrive, whisk 1/2 to 1 cup into the reheated gravy.
Gluten-Free Gravy
Replace flour with an equal amount of sweet rice flour, or use 1/4 cup cornstarch whisked into 1/4 cup cold stock, stirred into the simmering liquid (skip the roux; melt fat, add liquid, simmer, whisk in cornstarch mixture, simmer 2 minutes). Check the stock is certified gluten-free.
Ingredient Substitutions
No turkey fat? Unsalted butter, a full 1/2 cup, plus a tablespoon of soy sauce to deepen flavor. No pan drippings at all? Use the make-ahead version above with a roasted turkey wing simmered in the stock. No fresh thyme? Dried thyme at half the amount (1/2 teaspoon); dried sage, rosemary, or poultry seasoning sparingly (1/4 to 1/2 teaspoon). No low-sodium stock? Regular stock works, but skip added salt until the very end and taste carefully. No whisk? A wooden spoon with vigorous stirring works if the liquid goes in gradually.
Dietary Notes
As written, this gravy is not vegetarian (built on turkey drippings) and contains gluten from wheat flour — see the gluten-free variation. It is naturally dairy-free if the fat is pure turkey fat with no butter top-up; if butter was added, it contains dairy. For lower sodium, use low-sodium stock and skip added salt until tasting. A typical serving is 1/3 cup.
Make-Ahead, Storage & Freezing
Make ahead up to 1 day: cool quickly in a shallow container, cover, refrigerate. Reheat gently over low heat, whisking constantly, with stock a tablespoon at a time until pouring consistency returns. Storage: refrigerate leftovers up to 3 to 4 days in an airtight container; do not leave gravy at room temperature for more than 2 hours. Freezing: up to 3 months in freezer-safe containers with headspace; thaw overnight in the refrigerator, reheat gently with whisking and a splash of stock. Reheating rule: low heat, constant whisking, a splash of stock; do not reheat more than once.
What to Serve With Turkey Gravy from Drippings
Start with our Herb Butter Roast Turkey — the very bird whose drippings make this gravy. Then our Creamy Mashed Potatoes and our Classic Thanksgiving Stuffing. Beyond the trio, gravy is generous over Fluffy Dinner Rolls split and dunked, and for a lighter counterpoint, our Cranberry Sauce gives the tart, bright contrast that keeps a rich plate from feeling heavy.
Recipe Notes
- Measure the fat and the liquid — do not guess.
- Warm liquid, added gradually with constant whisking, is the lump-free method.
- Cook the roux 2 to 3 minutes until golden and nutty-smelling.
- Season at the end, after tasting.
- Strain the finished gravy.
- Best season: autumn and Thanksgiving.
- Food safety: refrigerate leftover gravy within 2 hours; reheat gently to steaming hot throughout, and do not reheat more than once.
- Gravy thickens as it cools — judge it slightly thin while hot.

Turkey Gravy from Drippings — Silky, Rich & Lump-Free
Description
Silky, rich turkey gravy made from real roast turkey pan drippings — a golden flour roux, warm stock, and fresh thyme, whisked lump-free in 25 minutes during the turkey's resting time.
Ingredients
Instructions
-
Separate the Fat from the Drippings
Remove the turkey to a board to rest. Pour all pan drippings into a heatproof jug or fat separator; stand 5 minutes, then separate the fat from the juices and set both aside. -
Deglaze the Pan and Measure Your Fat and Liquid
Deglaze the roasting pan with wine (optional) and about 1 cup of stock, scraping up the browned bits. Add this to the juices, top the fat up to 1/2 cup with butter if needed, and add stock to the juices to make 4 cups liquid total. -
Make the Roux
Heat the 1/2 cup fat in a medium saucepan over medium heat. Sprinkle in the flour, stir to a smooth paste, and cook 2 to 3 minutes, stirring constantly, until light golden and nutty-smelling. -
Whisk in the Liquid, a Little at a Time
Add the warm liquid 1/2 cup at a time, whisking constantly until each addition is smooth before adding the next. Once half the liquid is in, pour the rest in a steadier stream while whisking. -
Simmer Until Silky and Thick
Simmer gently 5 to 8 minutes, stirring frequently, until the gravy coats the back of a spoon. Thin with stock a tablespoon at a time if it gets too thick. -
Season and Strain
Off the heat, stir in the thyme, season with salt and pepper to taste (starting from 1/2 tsp salt, 1/4 tsp pepper), then strain through a fine-mesh strainer into a gravy boat. Taste and adjust. -
Keep Warm and Serve
Cover loosely with foil and keep warm over very low heat or in a warm oven until serving. Whisk again just before serving if a skin has formed.
Nutrition Facts
Servings 12
- Amount Per Serving
- Calories 110kcal
- % Daily Value *
- Total Fat 9g14%
- Saturated Fat 3g15%
- Sodium 280mg12%
- Total Carbohydrate 6g2%
- Sugars 0.5g
- Protein 2g4%
* Percent Daily Values are based on a 2,000 calorie diet. Your daily value may be higher or lower depending on your calorie needs.
Note
Measure fat and liquid: 1/2 cup fat + 1/2 cup flour + 4 cups liquid is the ratio that sets the consistency. Warm liquid, added gradually with constant whisking, keeps the gravy lump-free. Cook the roux on the stovetop, medium heat, until golden and nutty-smelling. Season at the end after tasting. Strain the finished gravy. Best season: autumn / Thanksgiving. Food safety: refrigerate leftovers within 2 hours; reheat gently until steaming hot throughout; do not reheat more than once. Refrigerate leftover gravy within 2 hours of serving. Reheat gently until steaming hot throughout; stir well so heat reaches the center. Do not leave gravy at room temperature for more than 2 hours, and do not reheat leftovers more than once. Nutrition values are estimates calculated from this recipe's ingredients and will vary with the amount of drippings, the stock used, and the serving size.